Step 1: Create a new classified
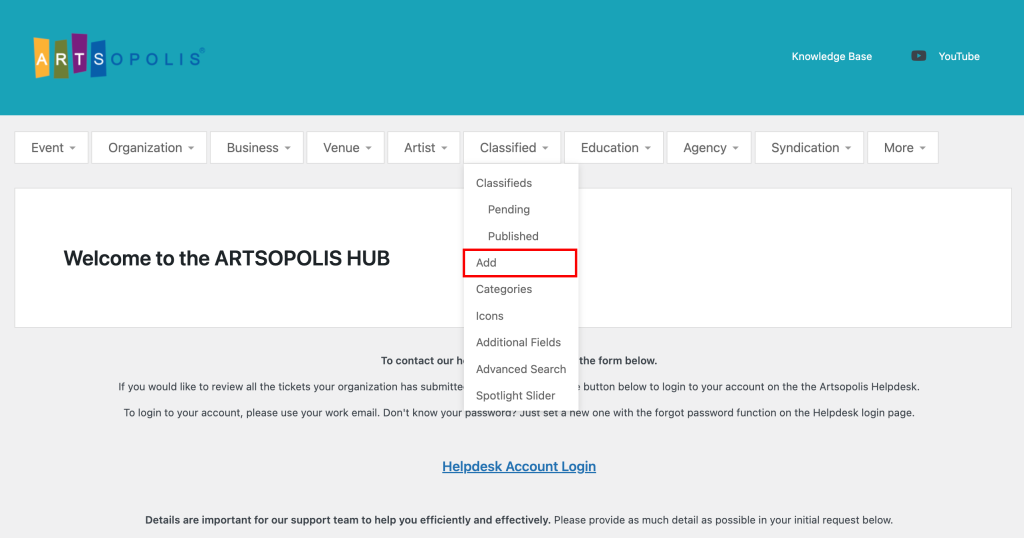
Hover over the Classifieds drop menu at the top of the Artsopolis Hub dashboard and click on the Add link to open up a new Classifieds form.
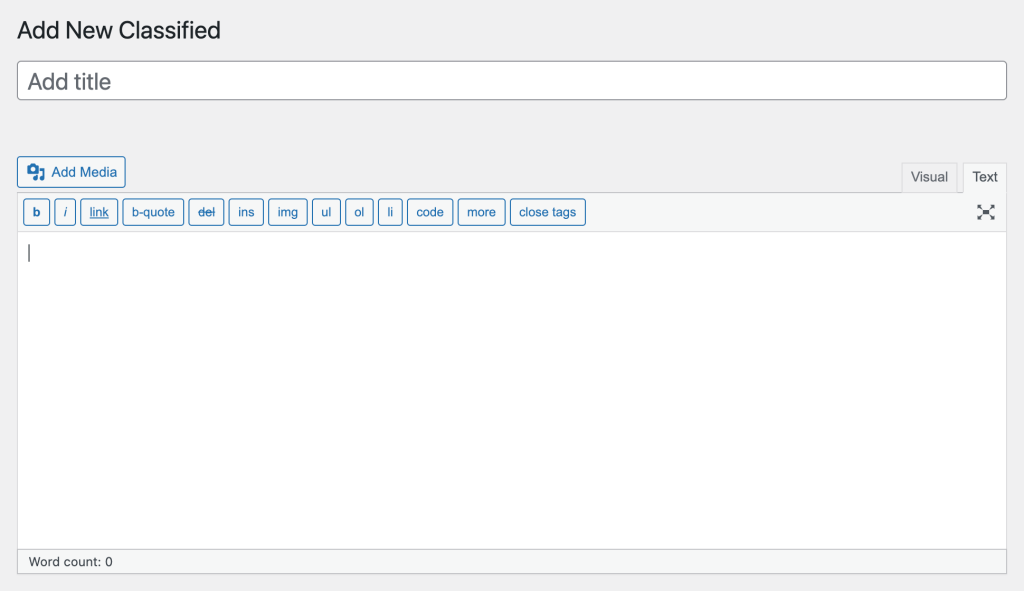
Step 2: Add the classified details
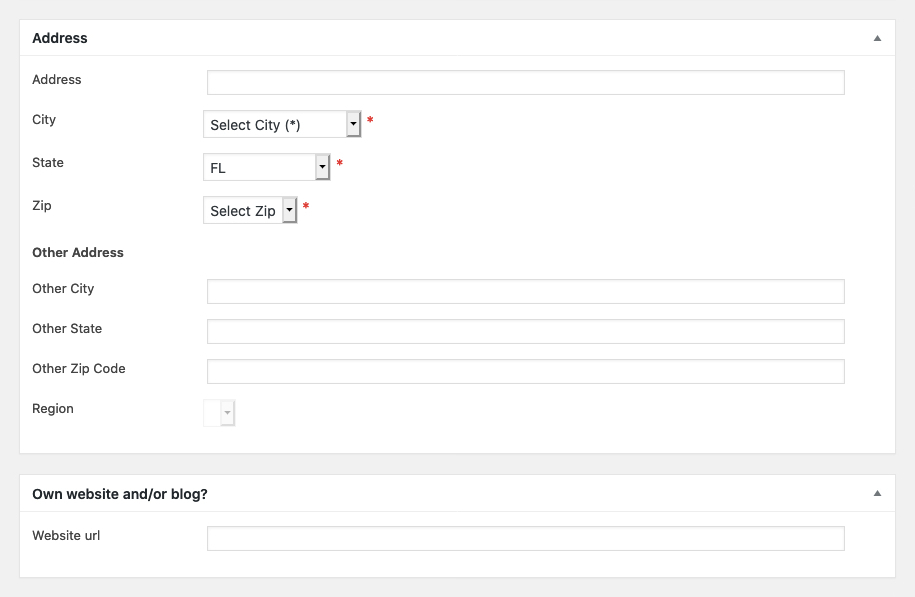
Fill out the form with the classified title, description, and address. Please note that a street address is not required but city and state are required.
Fill in the website URL field.
Fill in the Classified Data which includes the contact name, phone, fax, email as well as the expiration date for the ad and the deadline date. This information will be public on the front end classified ad.

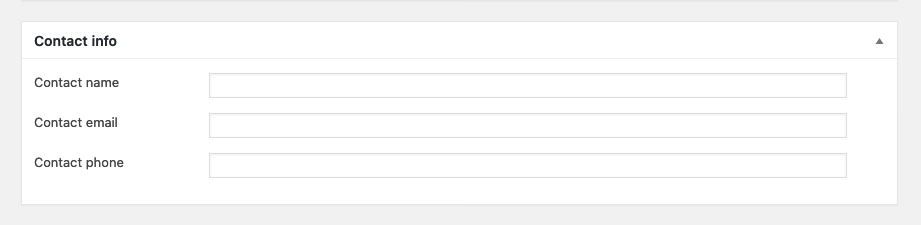
Add contact information. This information DOES NOT display on the front end; it is for administrative use only.
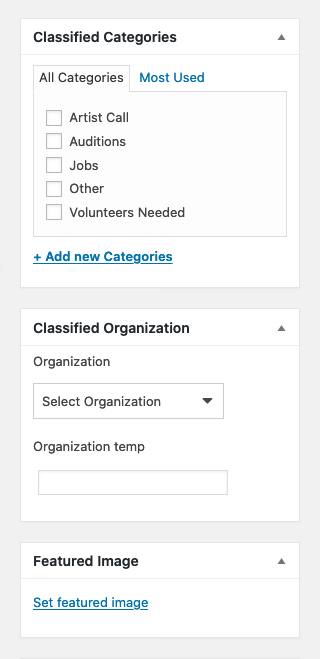
Scroll up to the top of the form, and select an Classified Category from list in the right sidebar. You may also select additional categories, if applicable.
Scroll down to the Classified Organization and select the Org responsible for the ad from the drop menu. If the organization is not list, you can type the organization’s name into the Temp Org field.
Scroll down a little further and click on the Set Featured Image link to upload an image. This will open up the Media Library.
Scroll down a little further and click on the Add Classified Gallery Images link to upload additional images (optional).
Scroll back to the top and click the Publish button.
Questions or suggestions? Contact: networksupport@artsopolis.com