Create a new Venue profile
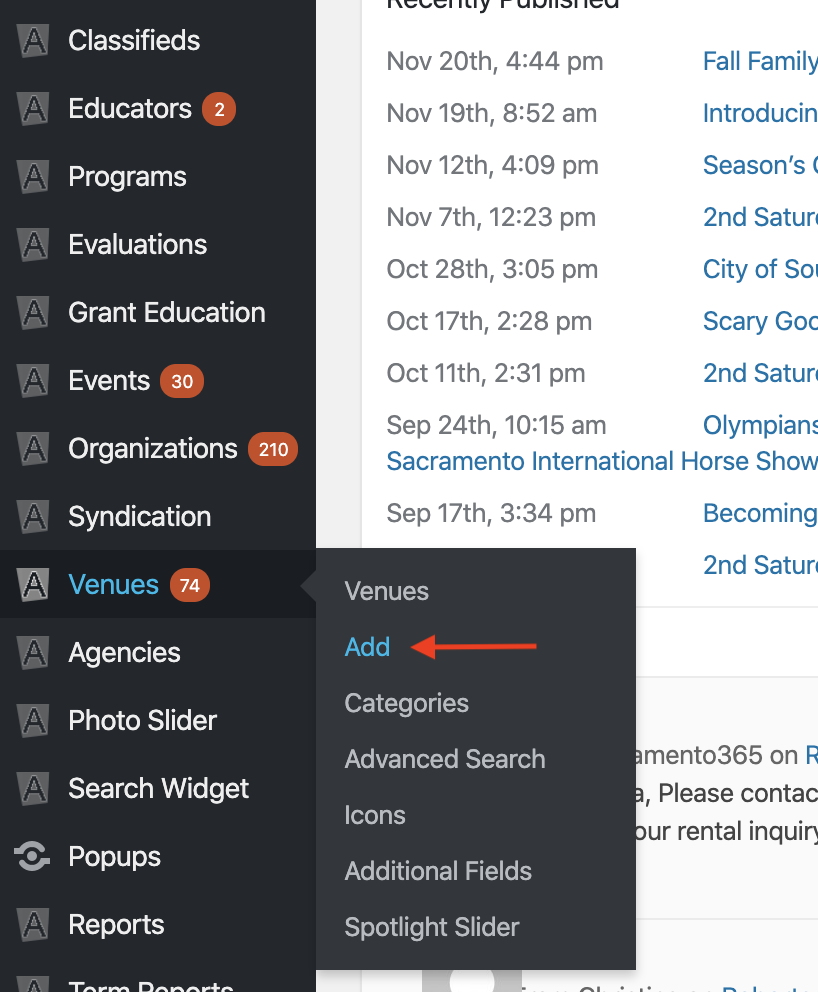
To create a new venue profile, log into your Admin Dashboard. Hover over the venue link in the left sidebar and click on ‘Add’ to open up a new venue form.
Filling Out the Form
Fill out the form with the name of the venue, a brief venue description, and address information.
Venue Address
When adding the venue address, we have found a few best practices that might help when formatting a valid street address that produces the best results with mapping API.
- Google largely converts their addresses to abbreviations without periods, such as “Ave” “St” “Rd”. We would stick with those formats.
- Make sure the “Address 1” field always has the number and street name. If there’s any additional information like a suite number/letter or “Music Department” on a college campus, put that into the “Address 2” field. The map function will not work if there’s a non-street address text in Address 1.
- Do not use PO Box numbers.
- Avoid special characters like “&” if you have to use an intersection for the address. Please use “and” since “&” often breaks Google’s parsing of the two street names. ex. J St and K St
Venue Data
The information includes phone, fax, and email as well as parking information, public hours and admission.
Website URLs
Fill in the website URL and any social media URLs.
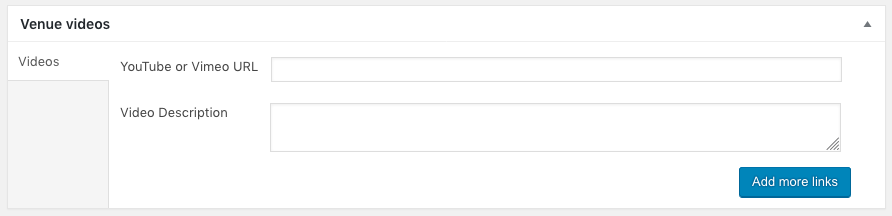
Videos
We accept the “share” links provided by YouTube, Vimeo and/or Brightcove. We do not accept any other video service links or embed code at this time. To add video to the venue profile simply copy and paste the share link provided by these services and a video description (optional).
Accessibility
Add any accessibility services the venue may offer such as wheelchair access, assisted listening system, audio descriptions, etc.
Contact Information
Add contact information. This information does not display publicly; it is for administrative use only.
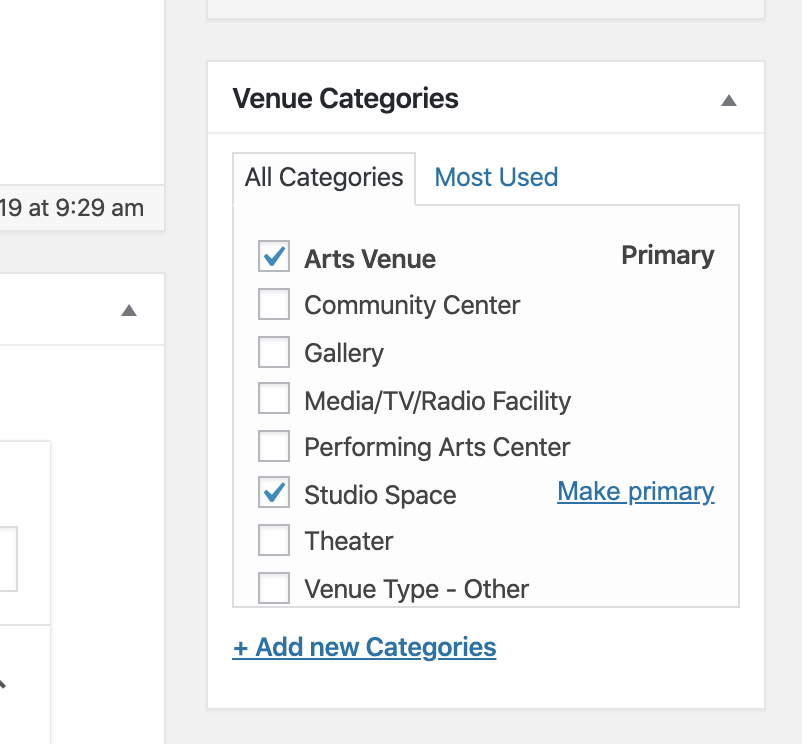
Venue Category
Scroll up to the top of the form, and select a Venue Category from list in the right sidebar. You may also select additional categories, if applicable.
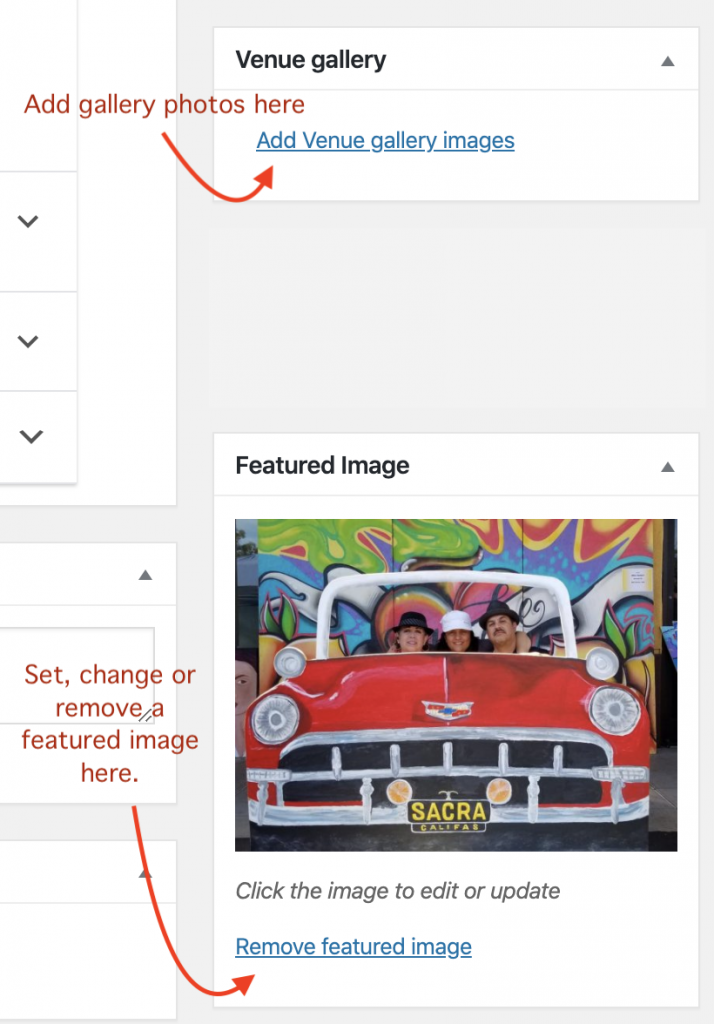
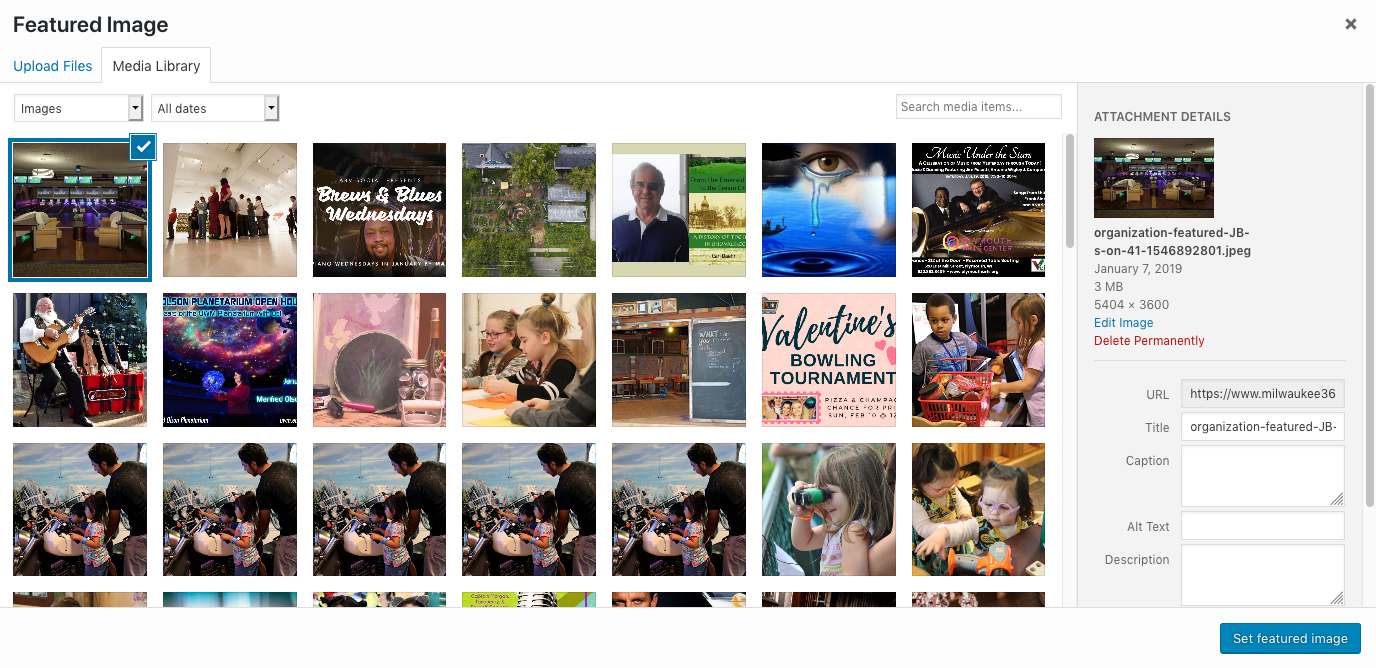
Set Featured Image
Scroll down a little further and click on the ‘Set Featured Image’ link to upload the venue image. This will open up the Media Library. You can upload an image from your computer using the ‘Upload Files’ tab or use an existing image from your Media Library. Next, click the button ‘Set Featured Image’ at the bottom right to confirm your selection and close the Media Library window. This image will display with your venue name in search results.
Gallery Images
Scroll down a little further and click on the ‘Add Venue Gallery Images’ link to upload additional images (optional).
Publish
Scroll back to the top and click the ‘publish’ button, which will them turn into a blue update button. If you make any additional changes to the form, don’t forget to click ‘Update’ to save your changes.
Questions or suggestions? Contact: networksupport@artsopolis.com