This tool allows you to create new user accounts, edit existing user accounts (i.e. change passwords, etc.), and associate users accounts to org, venue, and artist profiles.
To create a new user account, go to “Users” in the admin control panel and click Add New link.
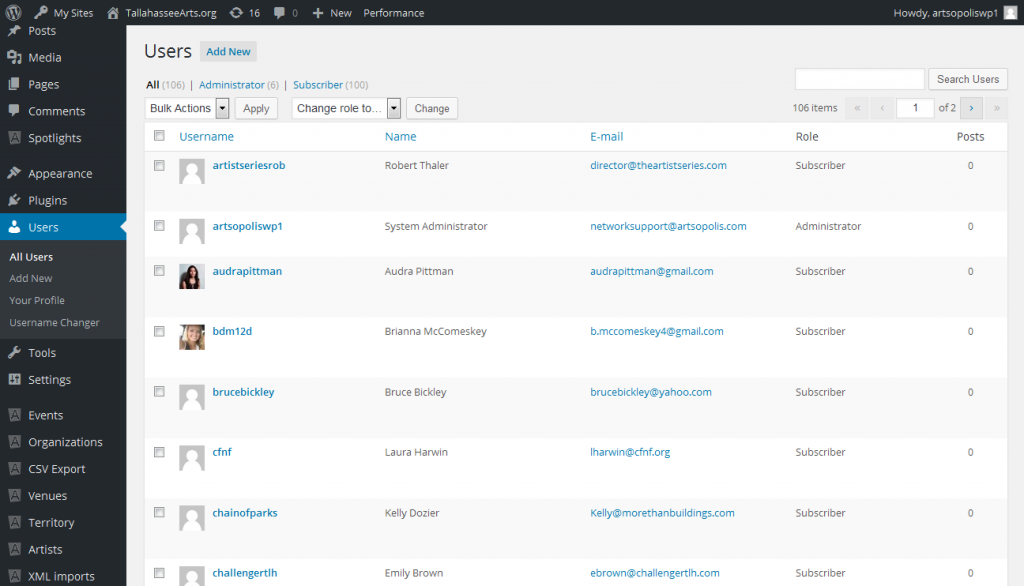
This will open the New User form:

Username
First you need to provide a username, use something that is easy to remember for the user you are adding. They will need to remember the username to login. A good strategy is to use the first letter of user’s first name with their last name. For example, tgriffin, jsmith, etc.
Important! When creating a username:
- Do NOT use an email address for your new username.
- Your username may only be lowercase letters (a-z) and numbers (0-9); no spaces.
Email Address
Next you need to enter the user’s email address. Double check the email address, as users will need this in order to reset their passwords, or to receive email notifications.
Roles
There are several roles or permission levels that you can select. The default user role is Subscriber, which you can change to any other user role available. Here is the list of roles with a brief explanation for each:
- Administrator is the old Super-Admin permission level which means you have access to all the administration features in the back end dashboard.
- Account Manager is the old Content Manager permission level. This user can review/approve events, orgs, venues, etc. but does not have access to all the setting features in the back end dashboard.
- Subscriber is the old Calendar Partner role for front end users. This user can only manage their own profile.
- Contributor is a limited back end blogging role. This user has no publishing or uploading capability but can write and edit their own posts until they are published. They also can not approve comments.
- Author is also a back end blogging role. This user can write, upload Media, edit, publish and manage their own posts as well as approve comments.
- Editor is a more robust back end blogging role. This user has access to all posts, pages, comments, categories, and tags, and can upload to the Media Library.
If you are setting up a user account for a general front end user, keep the Role set to Subscriber. If you are setting up a user account for a site administrator, set the Role to Administrator or Account Manager.
Password
The next item in the form is to choose a password. You must use a strong password. Above the password fields, you will see a checkbox which you can check to send the password to the user via email. For security reasons, we suggest you check the Skip Confirmation Email check box.
- Click the Generate Password button: you can either use the auto-generated password or type a specific password. If typing a specific password:
- Your password must use more than 5 characters.
- Your password may include a combination of uppercase (A-Z) and lowercase (a-z) letters, numbers, and the following special characters: !@#$%^&*()
- Please note: Our password login field is case sensitive.
First & Last Name
Next, you can enter first name and last name. However, these fields are optional and users can edit their profiles to fill in those fields.
Profile Image
There is no need to upload a profile image so you can skip this step.
User Association
If the new user is a Subscriber and plans to manage an existing org profile and/or submit events on behalf of the organization, select the organization from the Organization drop menu. If the user manages the venue, select the venue from the Venue drop menu. Please note, user associations only need to be made if the org/venue/artist profiles already exist on the site.
Apollo Config
If you have the Bulk Import Tool enabled, you can add it to a user’s dashboard by clicking the check box next to Enable/Disable Import event Tool. For more information on the Bulk Import Tool, click here. To understand the front end experience of the Bulk Import Tool, click here.
Questions or suggestions? Contact: networksupport@artsopolis.com