(This module may not be available on your site)
The Bulk Event Import Tool is intended to provide you with a convenient method of importing large amounts of event data and related images into the system without having to fill out the event submission form for each new listing.
IMPORTANT! The Bulk Event Import tool should ONLY be used for posting “SINGLE DATE” or “TWO CONSECUTIVE DATE” events. If your events span MULTIPLE DATES (three or more) you must use the standard front end event form.
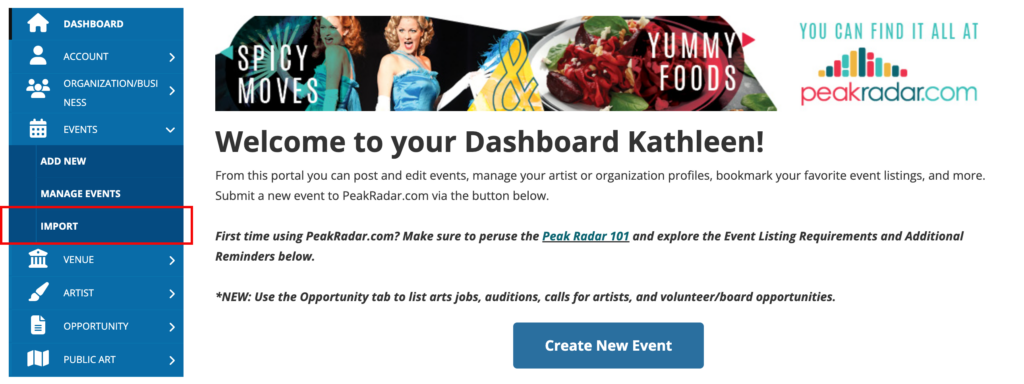
To access the Import tool, just log into user dashboard and go to Events > Import.
From here, you can enter your event information directly into the embedded form. There are drop menus for the org, venue and event type fields to make selecting easy. Once all your information is added you just need to click the Import Event icon located just above the embed form
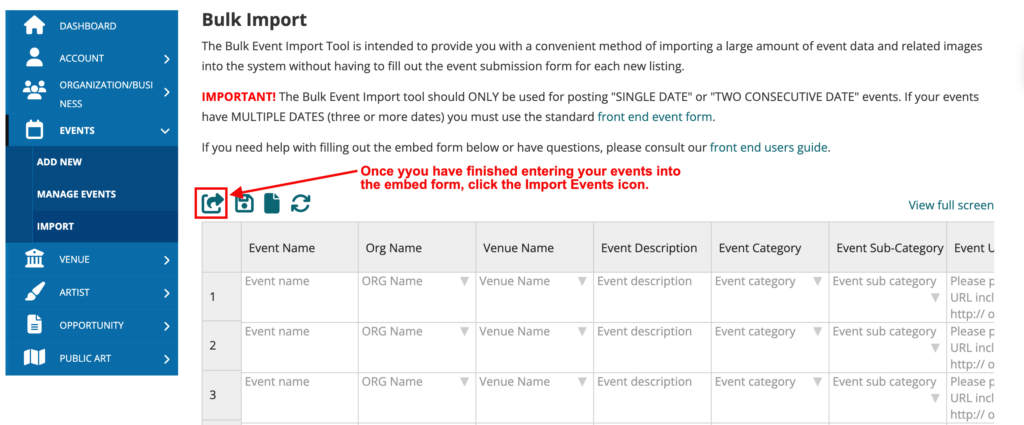
Please note, you can click the View Full Screen link to increase the visibility of the embedded form.
Using the Embed Form
The following is a list of data fields that are included in form. This list also indicates if the field is required or not.
- Event Name (required) – This field is the name of the event.
- Org Name (required) – use the drop menu to select the presenting organization for your event. Please note, your organization MUST be a registered org; temp orgs cannot be added.
- Venue Name – Use the drop menu to select the venue/location for your event. Please note, your venue MUST be a registered venue; temp venues cannot be added.
- Event Description (required) – This field is the event’s description and should have at least once sentence worth of text.
- Event Category (required) – use the drop menu to select the primary category for your event.
- Event Subcategory – use the drop menu to select the sub-category for your event.
- Event URL – This field is the URL of the “official” website of the event. You must include http:// or https:// with the URL.
- Event Phone – This field is for the phone number to call for tickets or more information.
- Event Email – This field is the email address for ticket or more information.
- Admission – This field is for the ticket price and related information.
- Ticket URL – This field is the URL if tickets are sold with this event. You must include http:// or https:// with the URL.
- Start Date (required) – Use the drop menu calendar to select the start date for your event.
- End Date (required) – Use the drop menu calendar to select the end date for your event.
- Days of the Week – Enter the start time for each day of the week your event occurs.
- Image – Our form no longer requires you to upload a separate zipped image file or folder. Simply, enter the URL path where your event image is hosted.
- Contact Name (required) – This field is the name for whoever is submitting the data.
- Contact Phone – This field is the phone number for whoever is submitting the data.
- Contact Email – This field is the email address for whoever is submitting the data.
The embedded form has four buttons – import events, save for later, add new, and reset form. Once all your form fields are filled out, you can click on the Import Event button to upload your events or the Save for Later button to save your form and finish it at another time.

Questions or suggestions? Contact: networksupport@artsopolis.com