This tool allows you to create theme-based event pages on your site and manage them like category pages via the admin control panel.
Create a New Theme Page
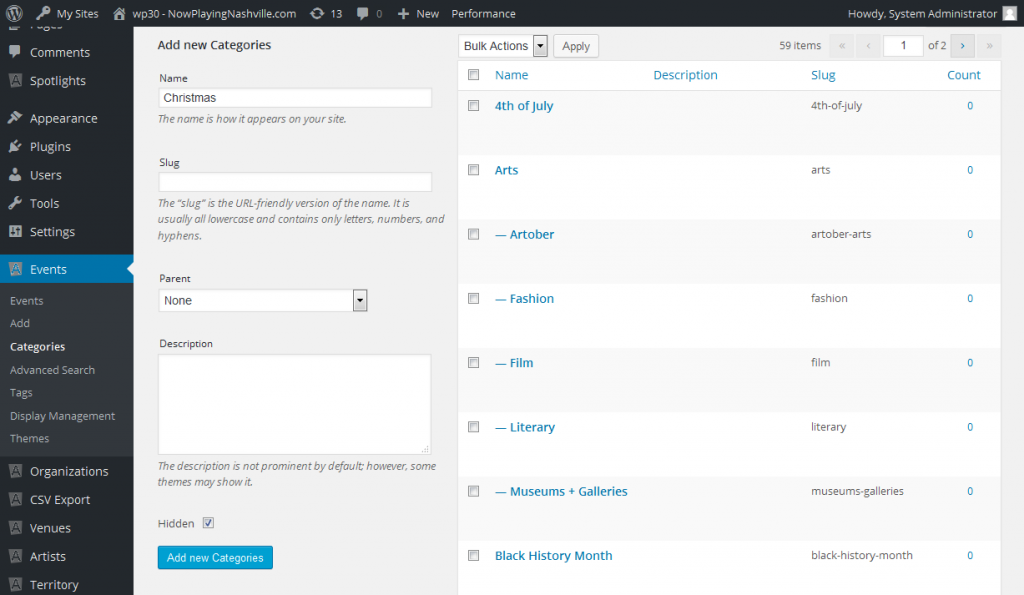
- From the back end dashboard, hover over the Events link and click Categories.
- In the Name field, type the name of your new theme page (i.e., Artober or Christmas). You can ignore the slug, parent and description fields.
- Check the “hidden” check box. This will ensure that your new theme page does not appear as a primary category on your event submission form.
- Click the Add New Categories button.
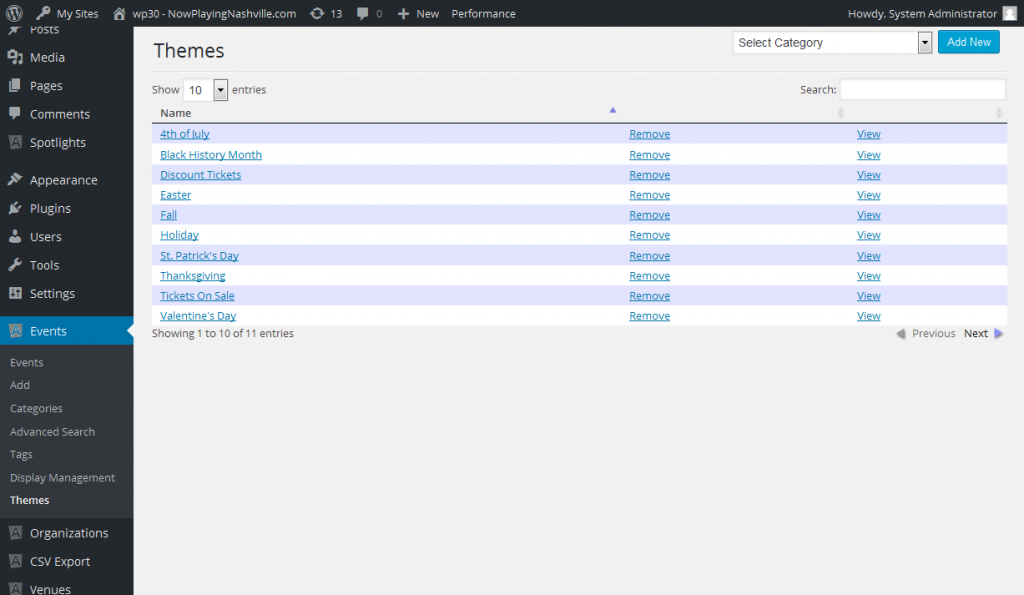
- You’ve now created the theme category; now you need to create the theme page. From the Events tab, click Themes.
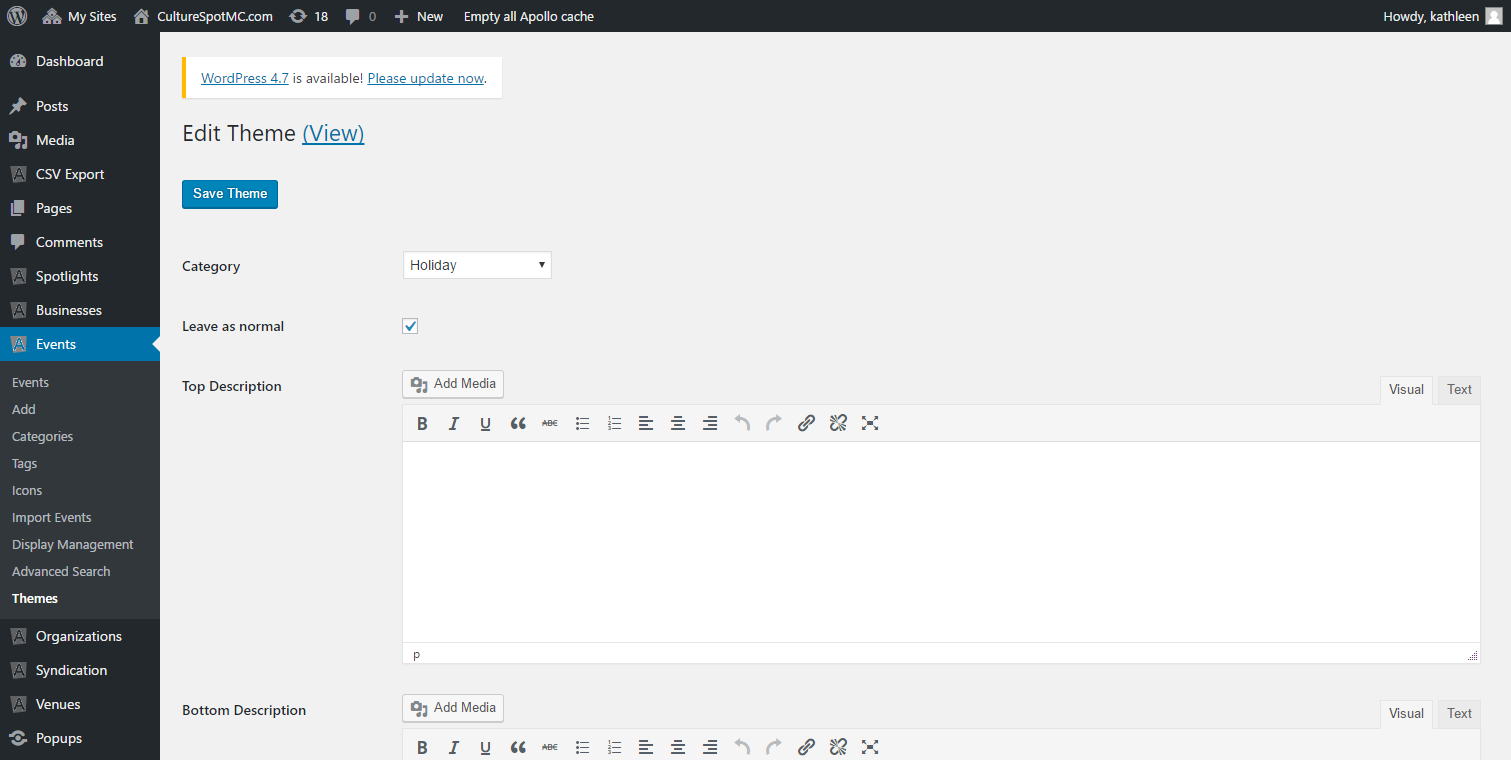
- From the Themes listing, select the new theme name from the Category drop menu and click Add New button.
Add Events to a Theme Page
From the Theme page listing, click on a theme page you want to add events.
Click the “Leave as normal” checkbox if you plan to have the theme page auto-populate with events tagged with that specific theme category. This allows the page to display your events just like all your other non-theme category pages.
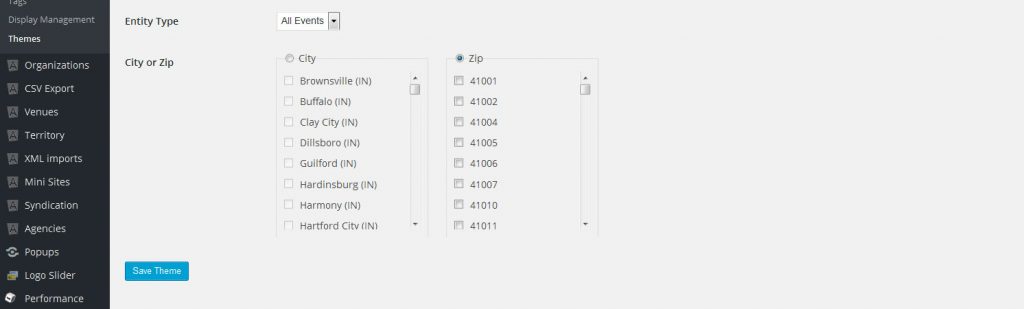
If you plan to filter your events, scroll down to the Entity Type drop menu. At this point, you can decide to filter event by city or zip code, OR pick individual events specific to your theme, i.e. holiday events like Christmas, Thanksgiving, or Valentine’s Day, or special events like Black History Month, Artober, etc.
- If your theme page is for a specific area, like downtown events, you’ll want select All Events from the Entity Type drop menu and filter by zip code. Once you have selected the appropriate zip codes, click the Save Theme button.
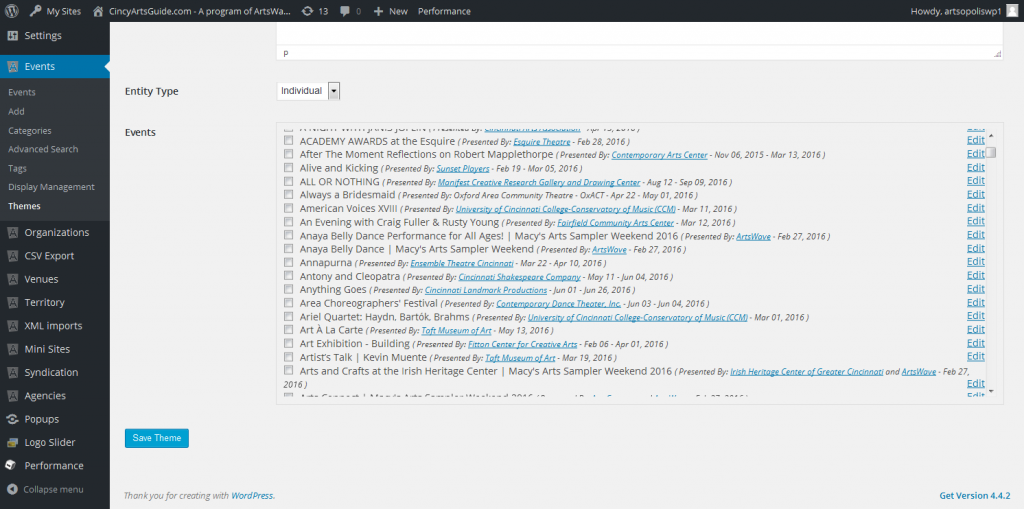
If your theme page is for a specific holiday or event, you’ll need to select Individual from the Entity Type drop menu. This will allow you to cherry-pick specific events from event listing. Once you checked all your events, click the Save Theme button.
Add A Graphic To The Top of Your Theme Page
- From the back end dashboard, hover over the Events link on the left sidebar and click Themes.
- Click on the theme category link to open the theme page.
- Place your cursor in the Top Description field.
- Select the Add Media button above the toolbar to upload your new graphic.
- Click the Insert to Post button.
- Then click the Save Theme button.
Questions or suggestions? Contact: networksupport@artsopolis.com