Welcome to the Artsopolis Users Guide for Educators. Here you will find help and documentation about the front end user’s dashboard, creating your user account, and how to manage your educator profile and programs.
Creating A User Account & Logging In
- Go to the homepage of the calendar site.
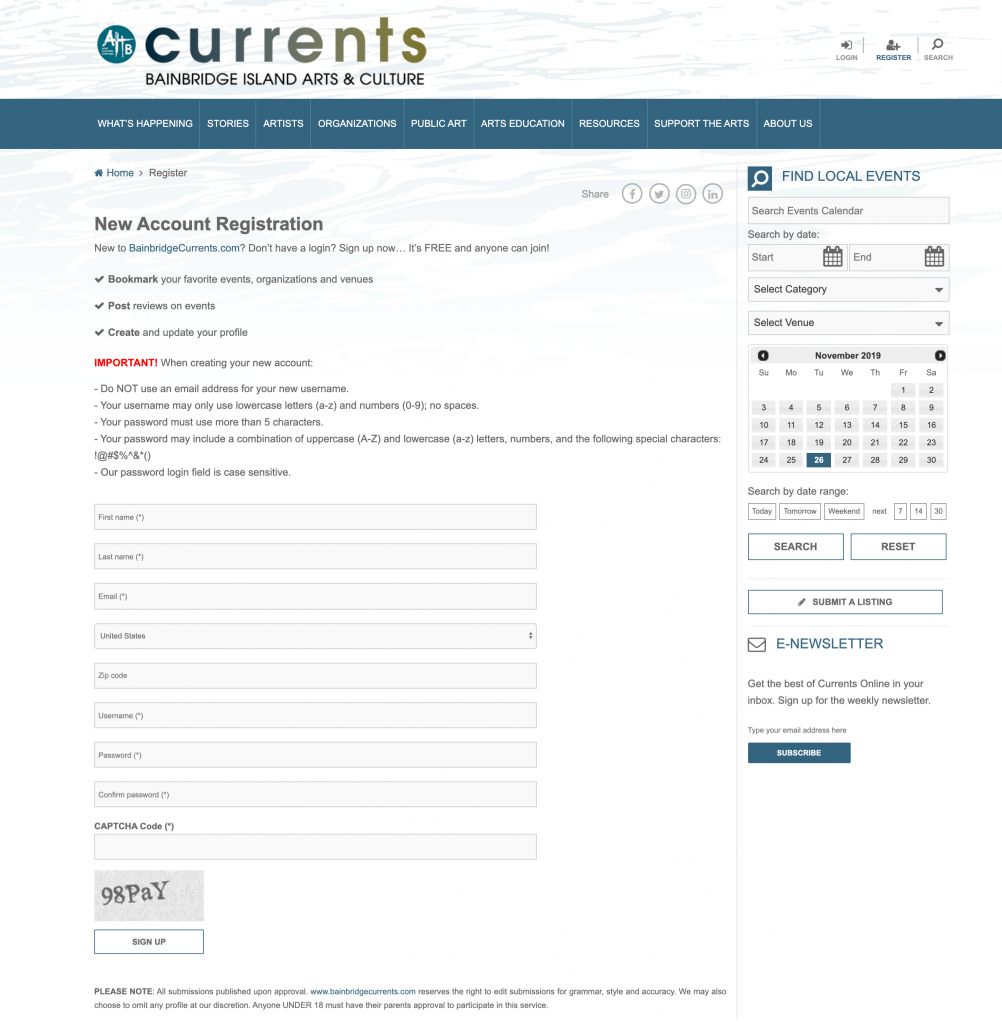
- Click “Register” at the top of the page to create your new user account. (If you’ve already registered for an account on the site, you can skip this step.)
When creating your new account:
- Do NOT use an email address for your new username.
- Your username may only use lowercase letters (a-z) and numbers (0-9); no spaces.
- Your password must use more than 5 characters.
- Your password may include a combination of uppercase (A-Z) and lowercase (a-z) letters, numbers, and the following special characters: !@#$%^&*()
- Our password login field is case sensitive
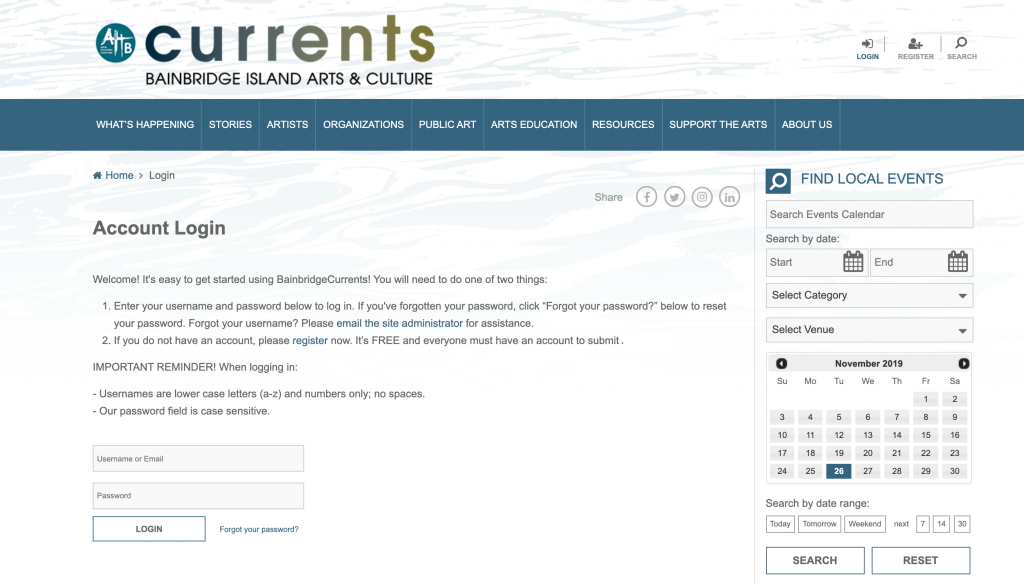
Once you have registered/created your account you will then be taken to a “success” page. From there you can click on the link provided or click “Login” in the top right corner of the page to access your new account.
Creating an Educator Profile
Select “Educator” from the left navigation menu. This will expand the sidebar and display the following elements: PROFILE, ADD PROGRAM, and PUBLISHED PROGRAMS. To add a new Educator Profile click PROFILE.
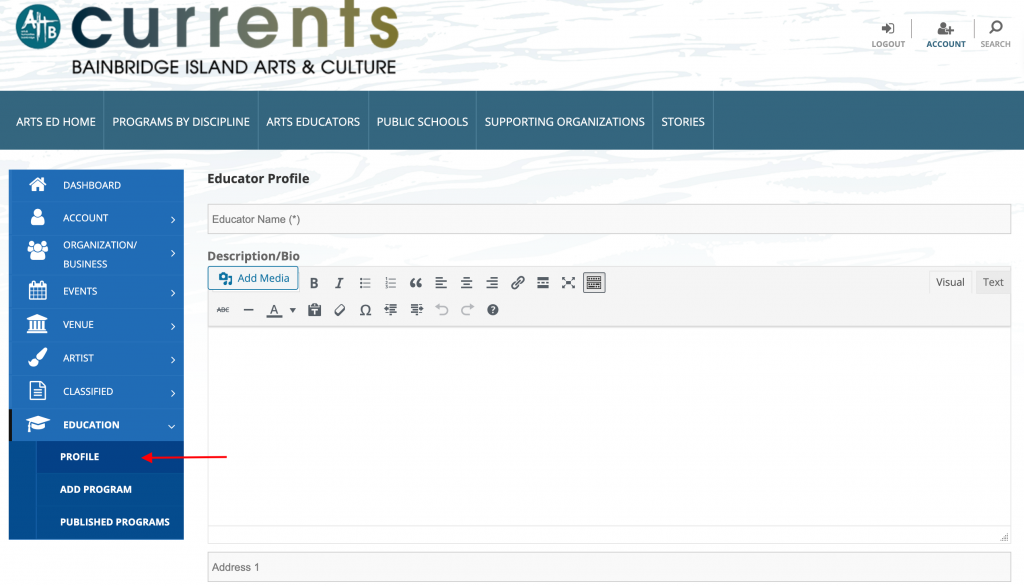
The Educator Profile form includes:
- Educator name
- Description/Bio
- Contact Data
- Primary Image
- Qualifications
Adding Photos
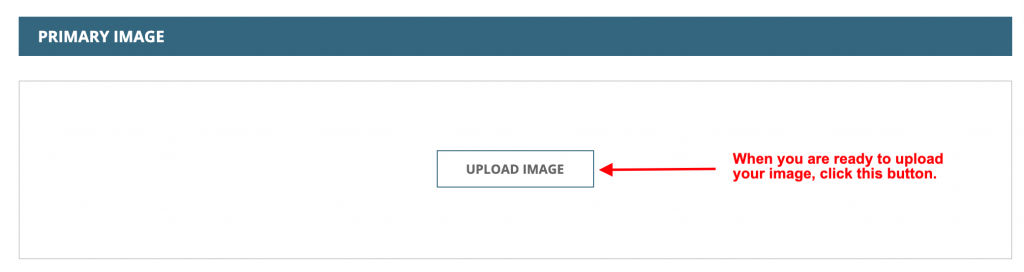
You will be required to upload a ‘primary’ image. To upload a primary image, click on the Upload Image button. This will open a window where you can select an image from your computer.
- All images MUST be at least 400 x 400 pixels in BOTH directions and .jpg, .png, or .jpeg format only.
- For optimal display, image should be a SQUARE.
- Each image should not exceed a file size of 1.46 megabyte (mb).
- Image file names must NOT contain spaces between words, question marks, exclamation points, apostrophes, quotation marks, or most other symbols (hyphens and underscore marks are OK).
- Our system automatically rejects images with bad file names.
Submit Your Profile for Approval
After you have completed and submitted your educator profile form it will then be sent to your site’s administrative panel for review and approval. Once your profile has been approved by the site’s content management team, you will receive a confirmation email telling your profile has been published, and it will show up to the public in the educator directory and search result pages. You can come back at any time to add, edit, and remove information from your profile form by logging in and saving your changes with the button at the bottom of the form.
Adding Your Programs
Select “Add Program” from the left navigation menu.
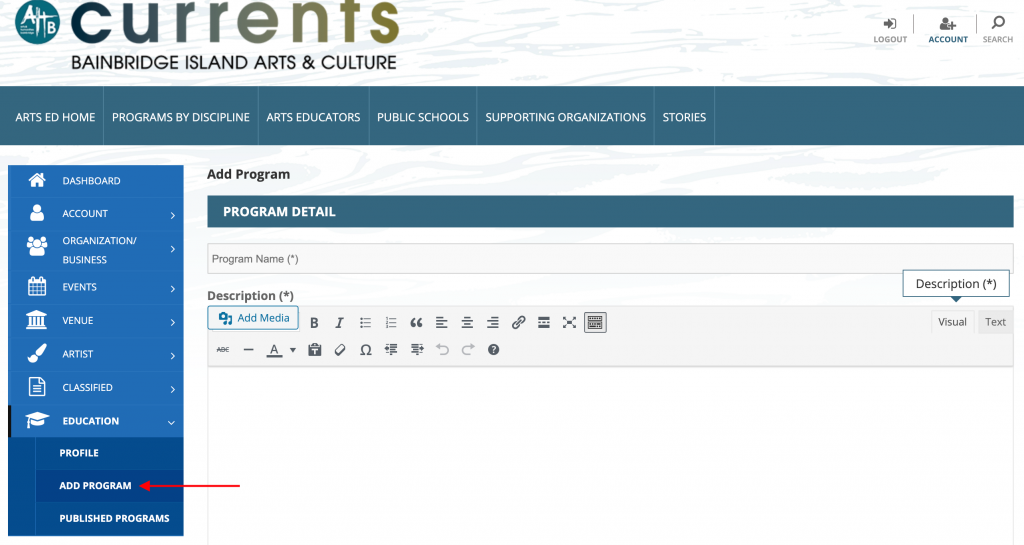
The Program Detail form includes:
- Required: Program name
- Required: Description
- Optional: Artistic Discipline
- Optional: Cultural Origin
- Optional: Population Served
- Optional: Program Type
- Optional: Subject
- Optional: Upload .pdfs of your cancellation policy, references and/or related materials
- Optional: Image and Video Upload
- Program/Booking Contact
Adding Photos
You can upload up to 25 images that will be featured in your image gallery. To upload a primary image, click on the Upload button. This will open a window where you can select an image from your computer.
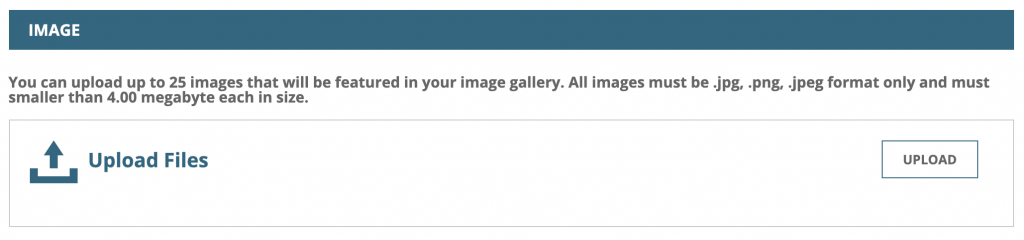
- All images MUST be at least 400 x 400 pixels in BOTH directions and .jpg, .png, or .jpeg format only.
- For optimal display, image should be a SQUARE.
- Each image should not exceed a file size of 1.46 megabyte (mb).
- Image file names must NOT contain spaces between words, question marks, exclamation points, apostrophes, quotation marks, or most other symbols (hyphens and underscore marks are OK).
- Our system automatically rejects images with bad file names.
Adding Video to Your Program Detail Form
We accept the “share” links provided by YouTube, Vimeo or Brightcove. We do not accept any other video service links or embed code at this time.
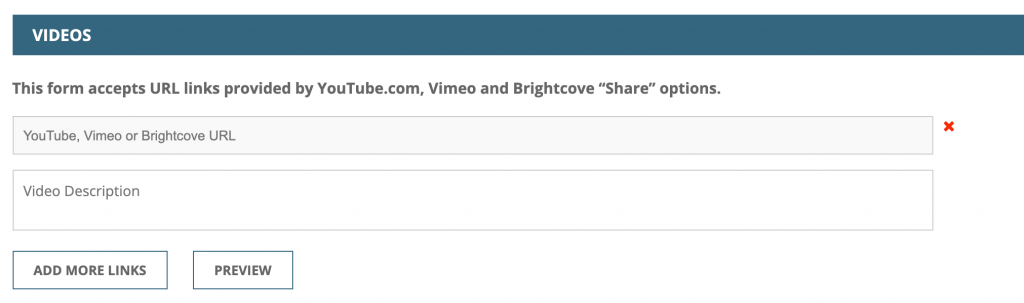
To add video to your profile, click on the Add Video Link button to display the video fields and simply copy and paste the share link. You also have the option to add a brief description for your video.
Submit Your Program for Approval
After you have completed and submitted your program detail form it will then be sent to your site’s administrative panel for review and approval. Once the program profile has been approved by the site’s content management team, it will show up to the public in the program directory and search result pages.
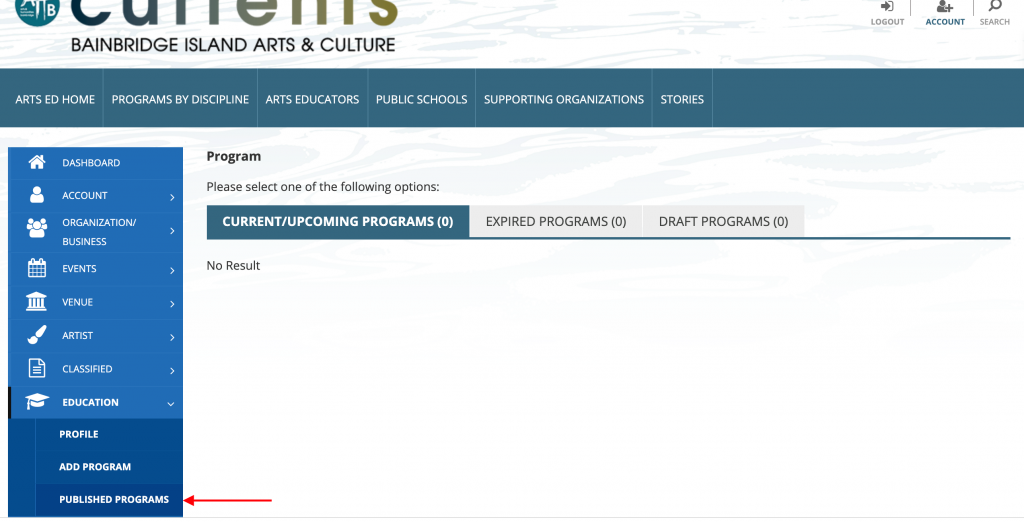
Managing Your Published Programs
You can come back at any time to add, edit, and remove information from your program form by logging in and clicking on the Published Programs tab from the left navigation menu.
If you have any questions, please contact the website administrator or content manager listed on the site’s Contact page.