Content visibility is about controlling who can see your content. Our WordPress platform allows you to control the visibility of your posts and Pages on an individual basis. You can set it for public, private, or Password Protected. By default, all posts and Pages are visible to the public.
Password Protected
Once you publish a page or post, it is visible to the public by default. Password Protected pages and posts allow you to hide content from visitors unless they have the password to reveal the content. This can be useful for member only pages or pages that are only meant for a certain audience. The good news is our WordPress platform makes it easy to set up a password protected page or post.
Password Protect a Page
- Open the page or post you want to password protect.
- In the top left corner under the Publish option Edit the visibility.
- From there select Password protected and enter a password. The password is limited to 20 characters.
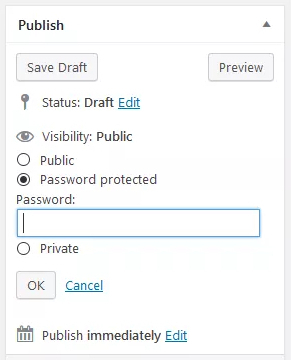
- When you’re done editing the page’s visibility, click the “OK” button. You should now see your page’s new setting, e.g., Visibility: Password Protected.
- Remember: a setting change does not take effect until you click the “Publish” button (or “Update” if the post is already published.)
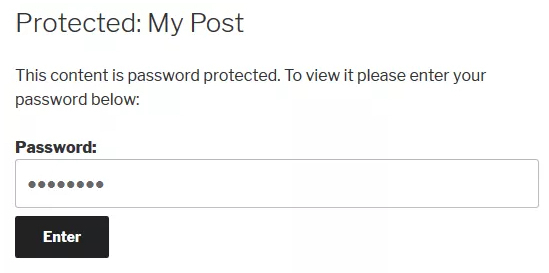
- Now, only users you share this password with will be able to see the page. When users come to a password protected page, they will see this:
Private Content
Unlike ‘published’ pages, a Private page is not visible to the public. In other words, visitors can’t see the content even if they know the URL. It is only available for authorized users (Admins and Editors) who are logged in to the Admin Dashboard.
The difference between Draft and Private is that ‘draft’ is more of a holding method before choosing to publish the content. Private is visibility setting for content that you never plan to publish.
Making An Individual Page Private
- From your dashboard, select Pages and open the page you want to make private.
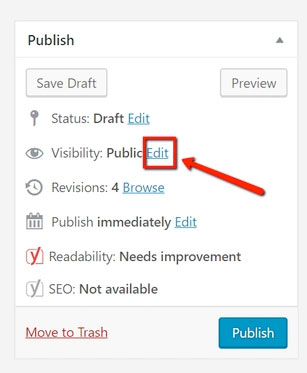
- Go to the Publish module on your post and find the Visibility section and click on the Edit link.
- Switch the Public radio button to the one that reads Private. Click on the OK button to lock it in.
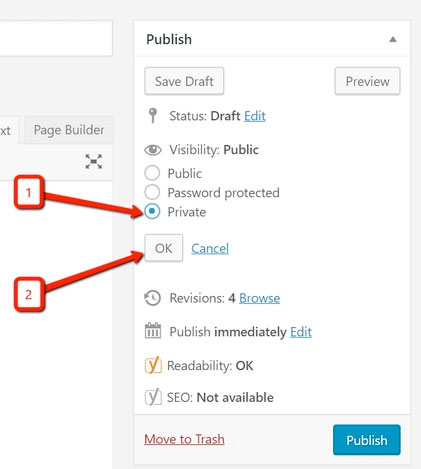
- If this is a new page, click the Publish button. If the page has already been published, you’ll see the Update button.
- You can test the private page by logging in as an Admin or Editor. If you see the “Private:” text before the title, only the Admin and Editors can see it.
Questions or suggestions? Contact: networksupport@artsopolis.com