We’re going to walk you through submitting an event. You must be registered for an account with your site to submit an event. Not sure how to do that? Click here.
Step 1: Login with your registered account.
Step 2: Click the Events tab from the left sidebar of your User Dashboard. Then click the Submit A New Event button to open the Event Submission form.

Enter Event Details
Step 3: Enter your Event Title. Please do not use ALL CAPS in your titles or description. Titles should be short and clear.
Step 4: Enter an Event Summary (optional). This should be one sentence of promotional copy.
Step 5: Please enter a Description of the event. This is an opportunity to draw in your audience, so feel free to include 1-2 paragraphs of information about your event.
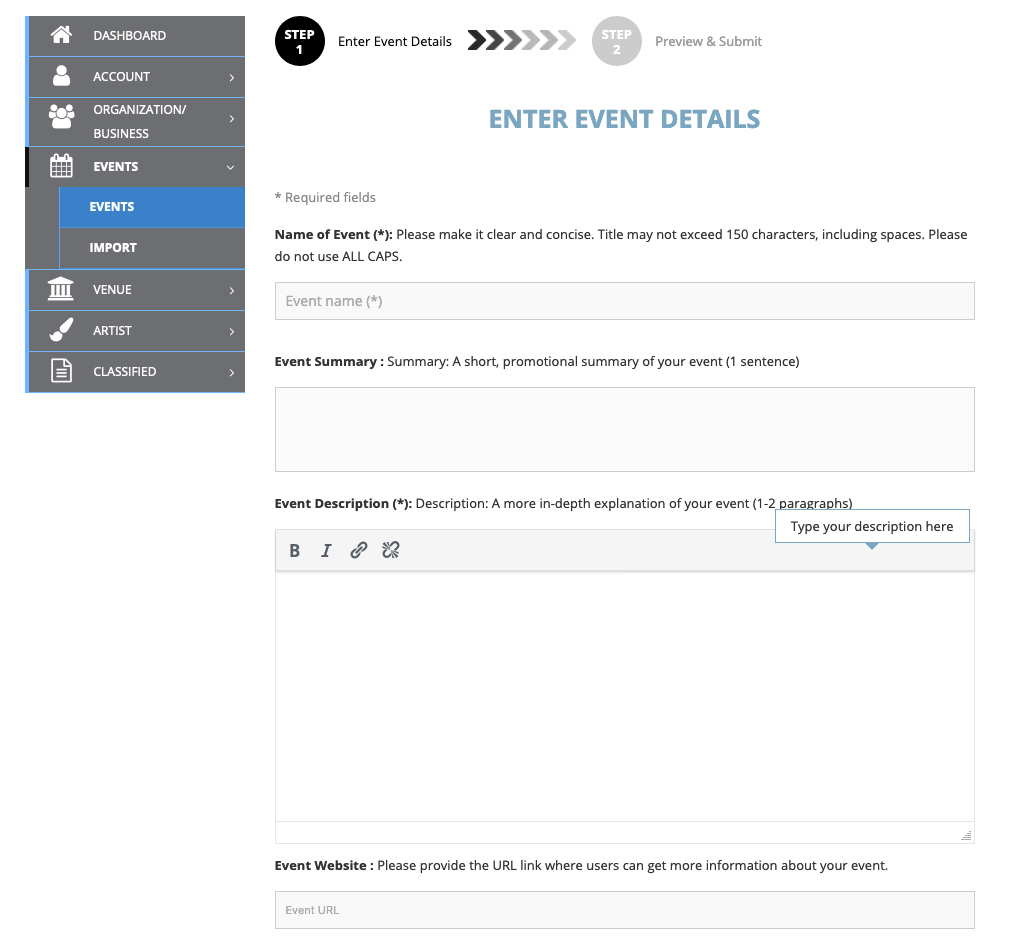
Step 6: NEW FEATURE! The event URL field now includes a new virtual event feature. Users can indicate whether the event is ‘in-person’ or an ‘online/streaming’ virtual event – see below.

Enter the official Event Website. We recommend copy and pasting the whole URL into this space.
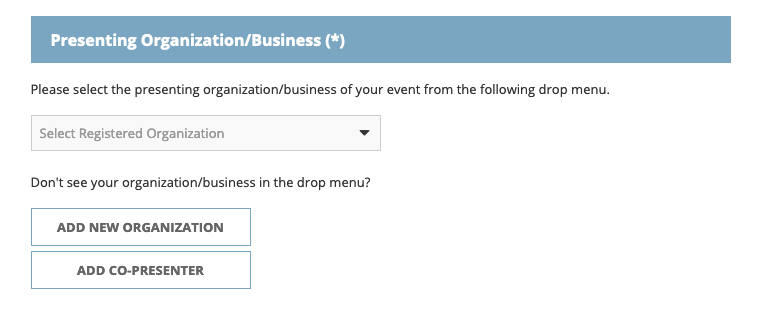
Adding a Presenting Organization
Step 7: During the event submission process you can select the presenting organization or business from drop menu, if have an existing profile on the site. If you are a member of the presenting organization and would like to register your organization to save you time from having to re-enter that information each time you post a new event, click the ADD NEW ORGANIZATION button. Once your organization or business profile has been approved, the name will be preset in the drop menu field.
You can also add “secondary” organizations, if the event is being co-presented with another group, by clicking the Add Co-Presenter button.
Selecting a Venue
Step 8: Select the venue for your event from the drop menu.

If your venue is not listed in the drop menu, you can add your venue by clicking the Add New Venue button. The form below will appear. Fill it out and click the GO BACK TO SELECTION LIST button. It will take you back to the event submission form you were working on.

Selecting Categories
Step 9: Selecting categories and subcategories helps site visitors find your event when they’re looking for your kind of content.
Begin by selecting a primary or parent category. Then select any secondary categories that will help specify the type of event you’re posting about.
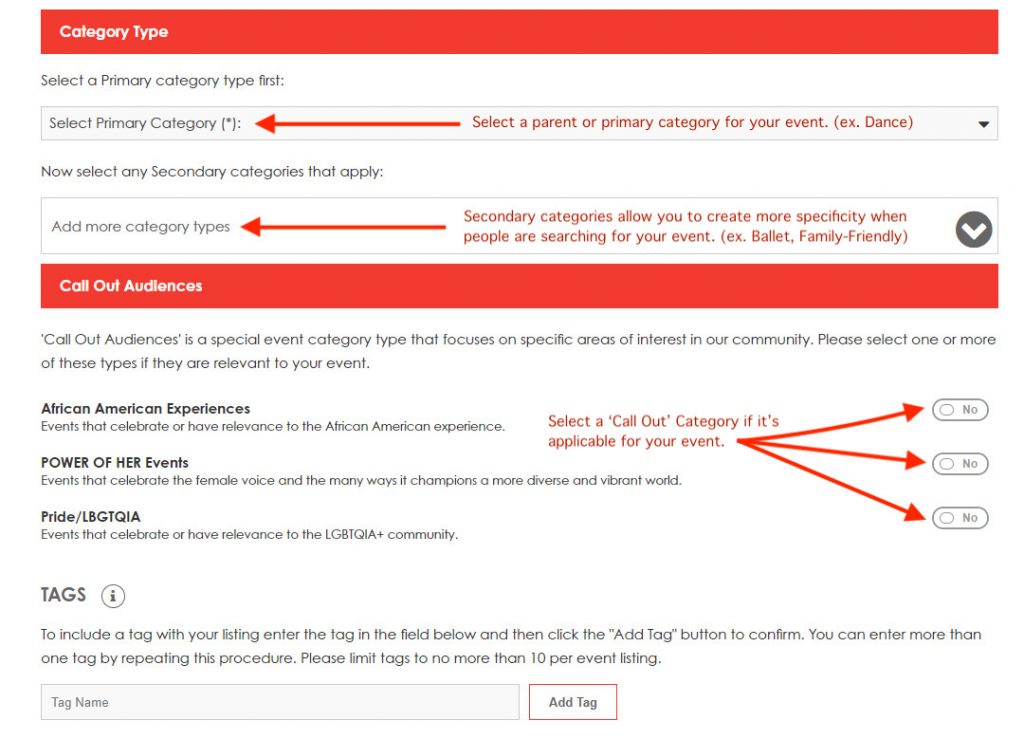
Call Out Categories
Some sites choose to have ‘Call Out Categories’. These categories have their own navigation tab, and are usually topics of significance for the community. If you feel that your event fits in one of those categories, you can turn that ‘Call Out Category’ to ‘yes’.
Tags
Adding Tags isn’t required, but Tags are a way of adding more specific terms that are used in conjunction with the site’s keyword search function. For example, an event title might be “A Night of Classical Greatness” presented by ‘The Society for Great Classical Music’ at the ‘Downtown Performing Arts Center’. The term”Mozart” doesn’t show up anywhere in that information, but there may be site users specifically looking for Mozart concerts. With the tags you can add things like “Mozart”, or “Bach” or other terms that will help users get more relevant search results.
Adding Dates and Times
Step 10: You will also be asked to provide the individual date(s) and start time(s) info for your event. This critical piece of information is used both in our search function and our sharing of event listings with other community partners.
After you select your individual date or date range using the start and end date fields, you’ll need to add the days of the week for your event as well.

Then click on the Save Dates button; this will release the times portion of the form.
Step 11: Your event must include a start time for each date of your event. If possible, please include an end time, as well.
You can click on each active date field to add a start and end time. Or, you can use the Apply Time To All Dates button to add the selected start time to all active date fields in one click. If your event has more than one occurrence on a single date you can click on the active date field again to add another time.

IMPORTANT: You will be able to review all selected dates and times on the Preview step just prior to submitting your form. For longer running events you’ll be able to delete any dates that your event does NOT occur.
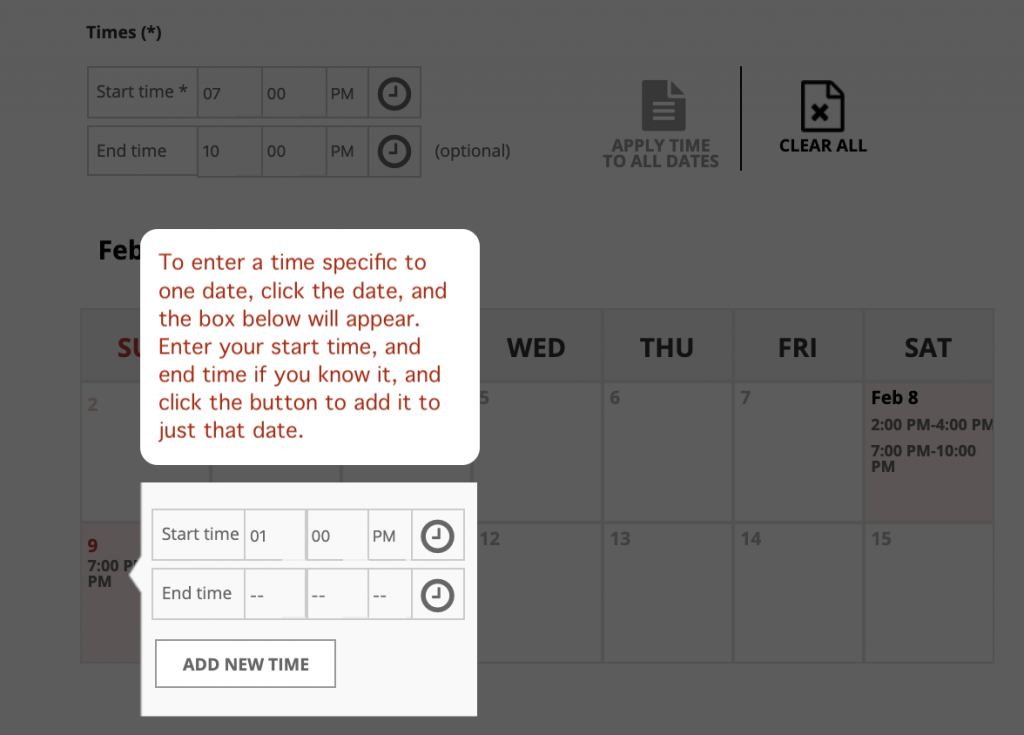
The box at the bottom of the time section offers the option to add any additional time information about this event, such as pre- or post-event reception, post show talks.
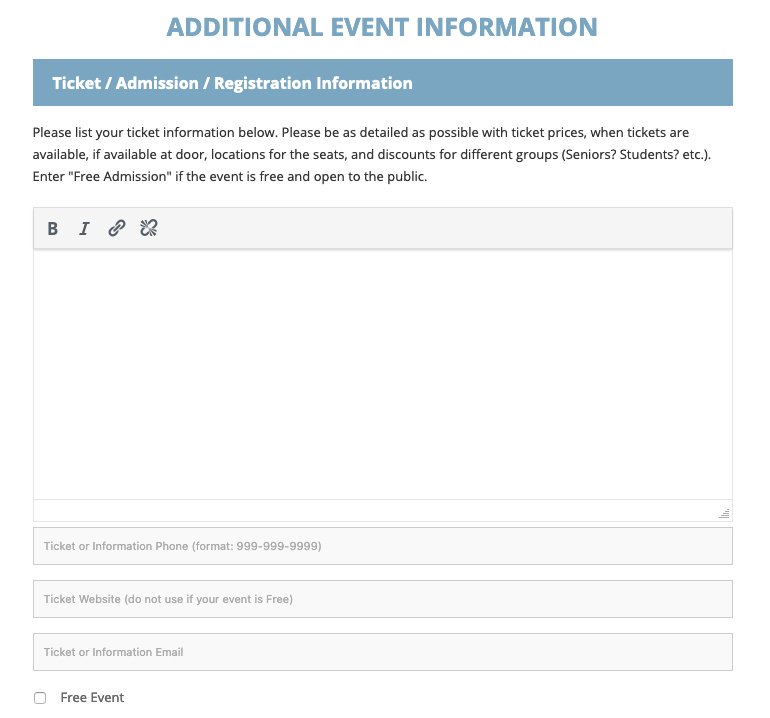
Adding Ticketing Information
Step 12: Additional Event Information, is for adding your ticketing information. Please be as detailed as possible with things like
- Ticket prices
- When tickets are available
- If they’re available at the door
- Locations for the seats
- Discounts for different groups (Seniors? Students? etc.).
Check the “Free Admission” box if the event is free and open to the public.
Adding Images and Videos
Step 13: You will be prompted to upload a ‘primary’ image for your event and also have the opportunity to add additional gallery images. This process also includes the Copyright Acknowledgement Checkbox. Checking this box indicates that you understand and acknowledge that you have the rights necessary to submit your image for display on our website and its related services.
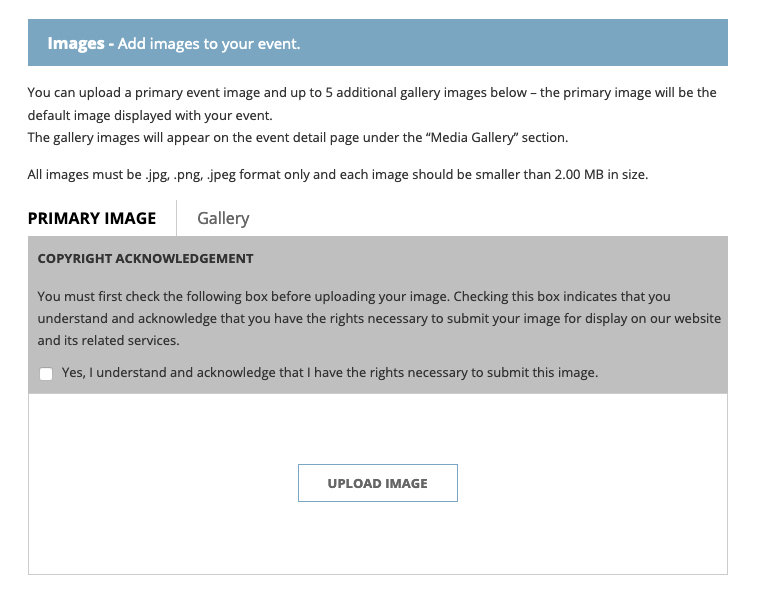
You can also include additional gallery images by clicking on the Gallery tab.
Next, if you have a promotional video for your event, you can click the Add Video Link to add the share link(s). (optional)
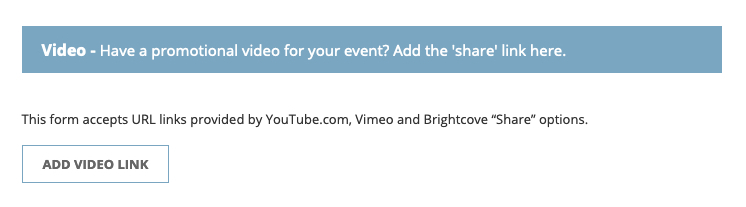
This form accepts URL links provided by YouTube.com, Vimeo and Brightcove “Share” options. If you have more than one promotional video, simply click the Add More Links button.

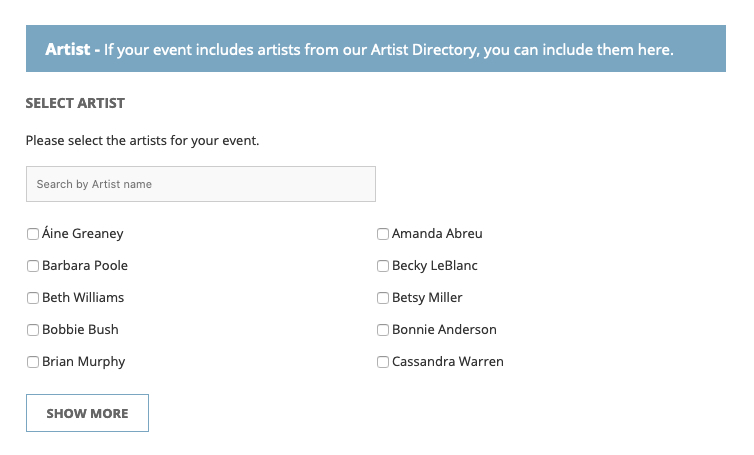
Side Note: If your site has an Artist Directory, and your event includes on of the listed artists, you can include them on your post. Just type a name into the Search by Artist Name field. This section will not appear on sites that do not have an Artist Directory.
Step 14: Adding your Contact Information.
IMPORTANT: Contact information is necessary in case we need to follow up with you regarding your submission. This information will NOT appear publicly on the site. It is for administrative purposes only.
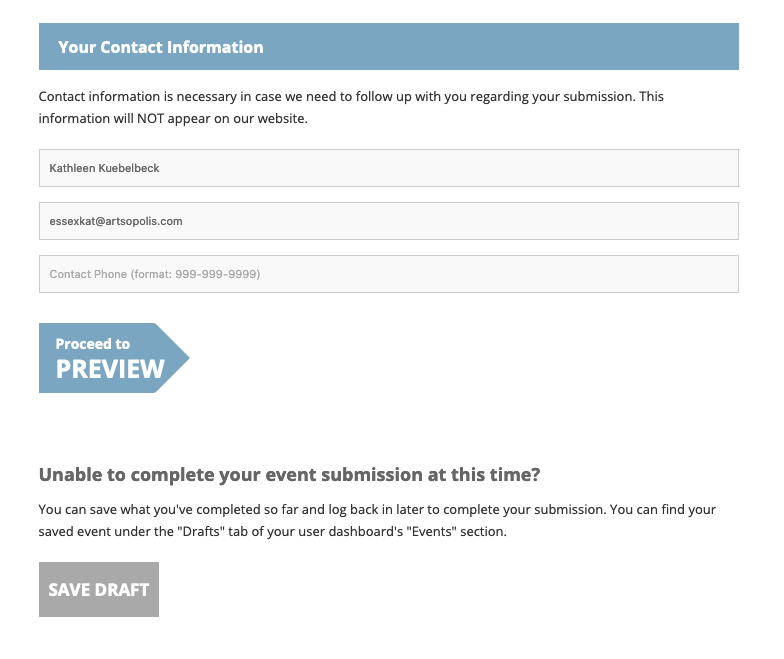
Unable to complete your event submission at this time? You can save what you’ve completed so far by clicking the Save Draft button and log back in later to complete your submission. You can find your saved event under the “Drafts” tab of your user dashboard’s “Events” section.
Step 15: Click the Proceed to Preview button to review your submission. If you need to edit any of your event information, you may return to the previous screen using the Return to Edit button. If you are satisfied with your submission you may click Submit Listing to complete the process.
Please note that the site administrator reserves the right to edit submissions for grammar, style and accuracy.
Once posted, you can log back in to edit your listings if you need to add/edit/delete any information from the listing, including adding additional images and video.
As with other listings, your submitted events will be reviewed. Once approved, they will be added to the site for public viewing.
Submitting An Event Listing How-To Video
If you have any questions, please contact the website administrator or content manager listed on the site’s Contact page.