Welcome to the Artsopolis Users Guide for artists. Here you will guidance navigating your user dashboard, how to create and manage your artist profile, associate yourself with calendar events.
Creating An Artist Account & Logging In
- Go to the homepage of the site.
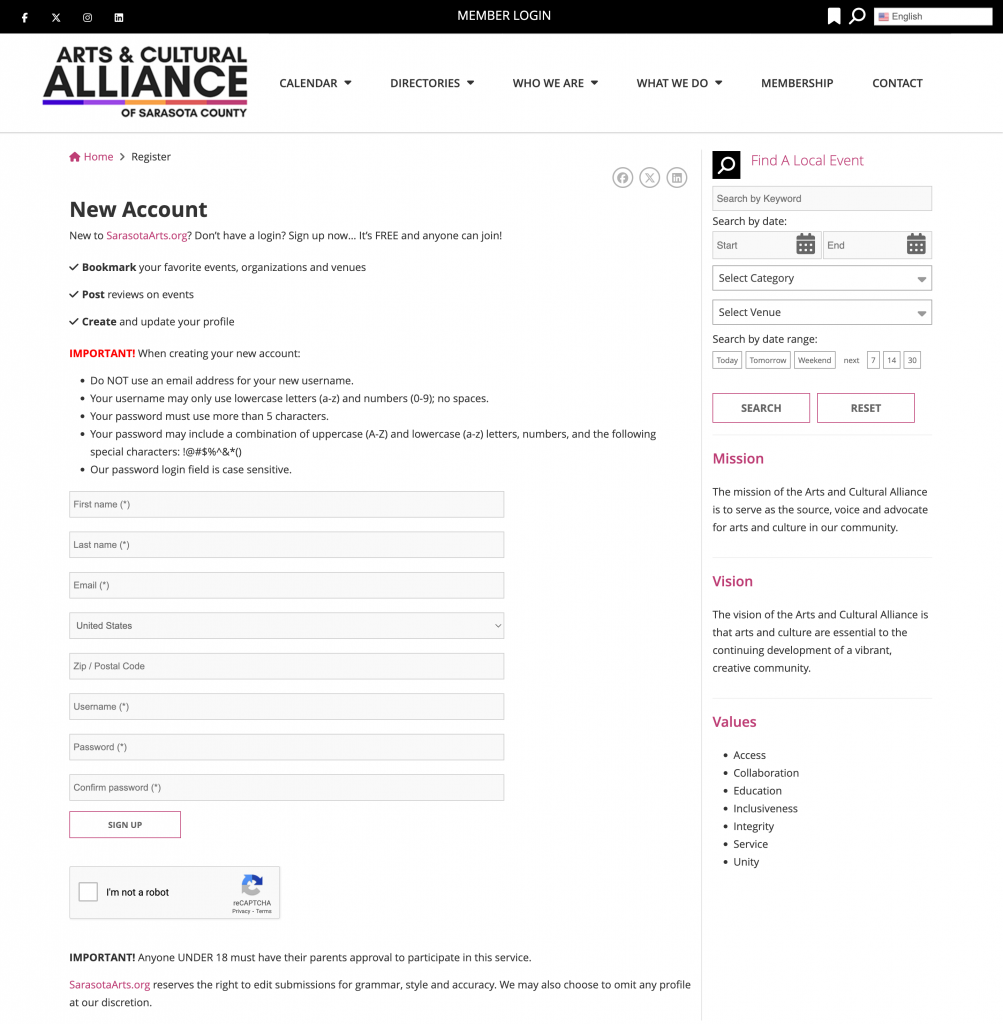
- Click “Register” at the top of the page to create your new user account. (If you’ve already registered for an account on the site, you can skip this step.)
- When creating your new account:
- Do NOT use an email address for your new username.
- Your username may only use lowercase letters (a-z) and numbers (0-9); no spaces.
- Your password must use more than 5 characters.
- Your password may include a combination of uppercase (A-Z) and lowercase (a-z) letters, numbers, and the following special characters: !@#$%^&*()
- Our password login field is case sensitive.
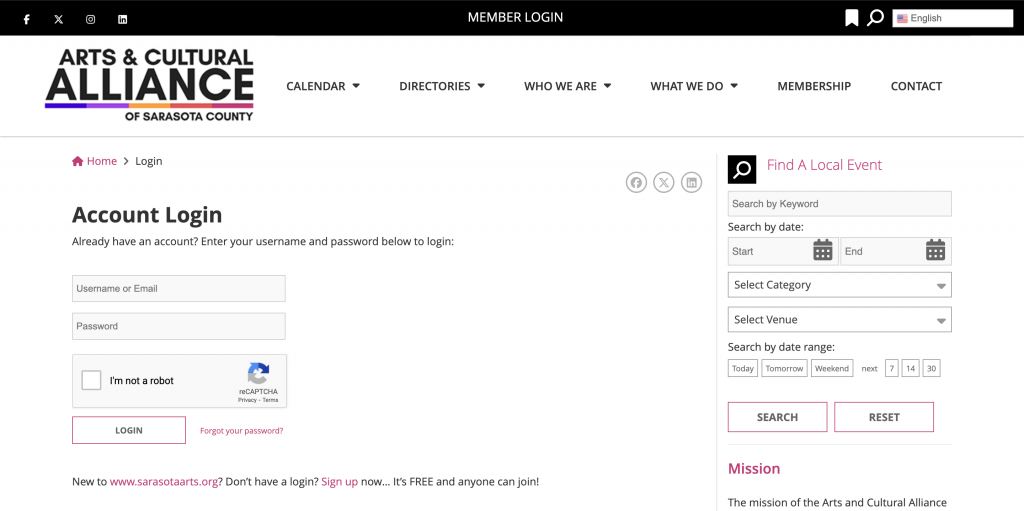
- Once you have registered/created your account you will then be taken to a “success” page. From there you can click on the link provided or click “Login” in the top right corner of the page to access your new account.
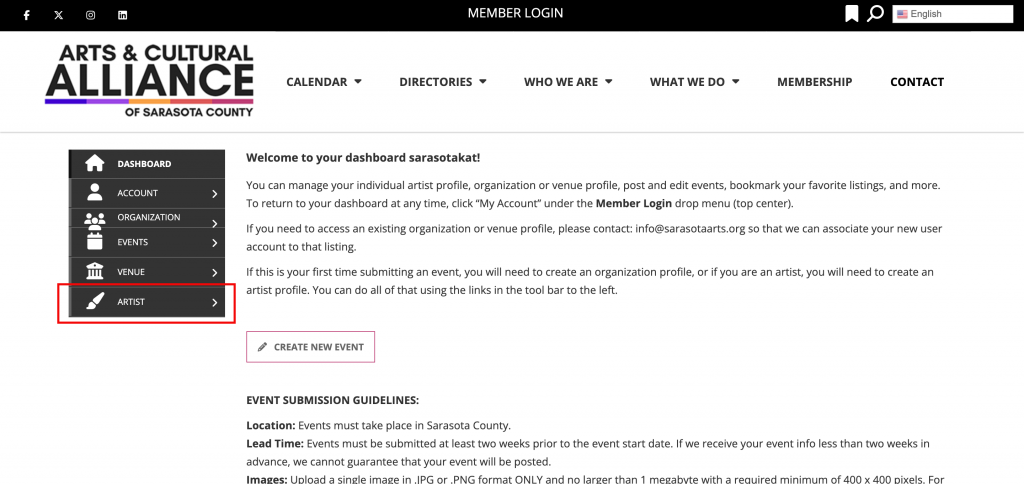
- Once logged in you’ll be on the Welcome Dashboard. From there, you will have several options on the left column, including Events, Artist, Organization, Venue, etc. The options will be dependent upon what your site offers.
Creating an Artist Profile
- Select “Artist” from the left navigation menu. This will expand the sidebar and display the following elements: PROFILE, PHOTOS, VIDEO, AUDIO and EVENTS. To add a new Artist Profile click PROFILE.

The Artist Profile form includes:
- Required: Contact information
- Optional: Location information
- Optional: Website, blog, and social media links
- Required: Categorize yourself with your artistic discipline, style and/or mediums
- Required: Bio/artist statement
- Required: primary image
- Optional: gallery images
- Optional: cover image
- Optional: Upload .pdfs of your resume and/or work samples.
Writing Your Bio/Artist Statement
A biography is different than an artist statement. A biography is an opportunity to frame your work based on your life history, and the influence it has had on you as a creative individual. An artist statement is usually an explanation of the process that goes into creating your work, or the impact you hope your work has on the audience of the art form.
For many artists, it can be a challenge to explain their visual work in words. It shouldn’t summarize your resume or retell your biography, but rather focus on the “why” of the art.
If you need help writing an artist statement worthy of your art, we have collected a few articles on the subject.
Articles on Writing an Artist Statement
- The Creative Independent – https://thecreativeindependent.com/guides/how-to-write-an-artist-statement/
- Artsy – https://www.artsy.net/article/artsy-editorial-4-tips-writing-good-artist-statement
- Artwork Archive – https://www.artworkarchive.com/blog/5-tips-for-writing-a-memorable-artist-statement
- GYST – https://www.gyst-ink.com/artist-statement-guidelines
Adding Photos
You will be required to upload a ‘primary’ image and also have the opportunity to add additional gallery images.
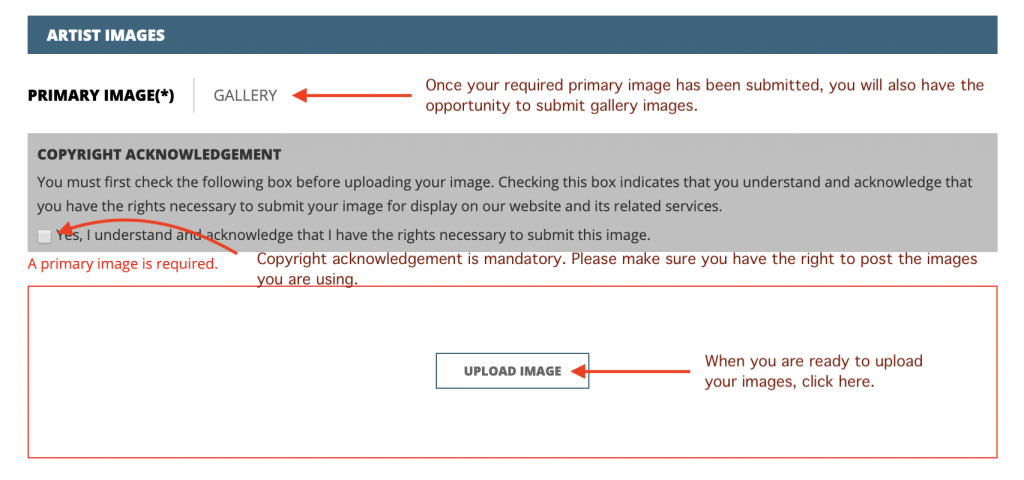
To upload a primary image, click on the Upload Image button. This will open a window where you can select an image from your computer.
- Copyright Acknowledgement Checkbox: Checking this box indicates that you understand and acknowledge that you have the rights necessary to submit your image for display on our website and its related services.
- All images MUST be at least 400 x 400 pixels in BOTH directions and .jpg, .png, or .jpeg format only.
- For optimal display, image should be a SQUARE.
- Each image should not exceed a file size of 1.46 megabyte (mb).
- Image file names must NOT contain spaces between words, question marks, exclamation points, apostrophes, quotation marks, or most other symbols (hyphens and underscore marks are OK).
- Our system automatically rejects images with bad file names.
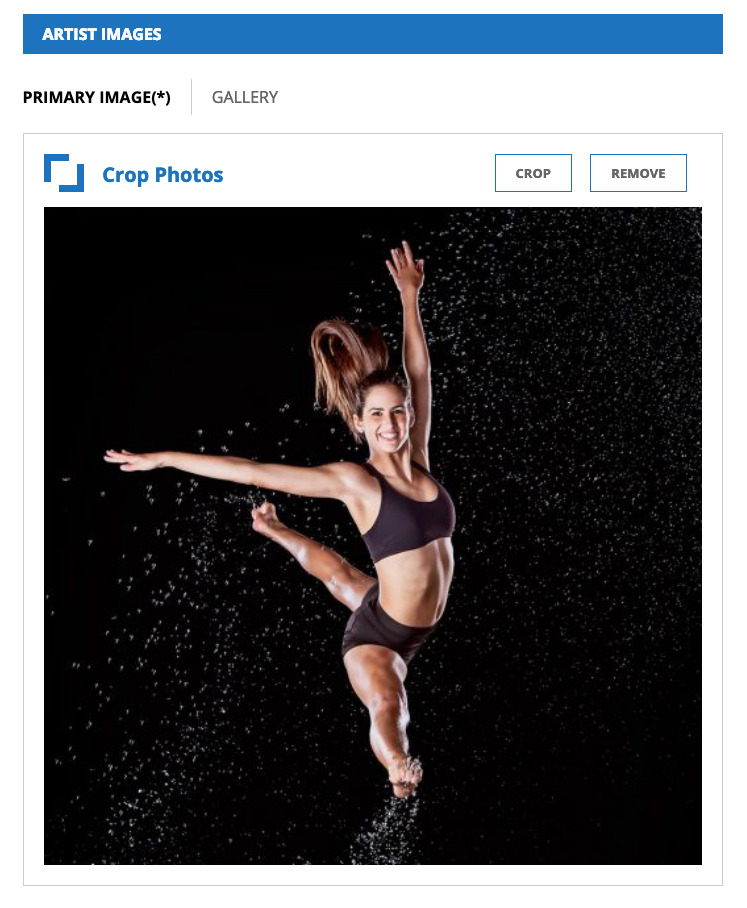
Once your primary photo has been uploaded you should expect to see a screen similar to this:
After uploading a primary image, you can now click on the Gallery tab and begin uploading additional images. These gallery images will display as thumbnails near the bottom of your artist profile page.
Submit your Profile for Approval
After you have completed and submitted your artist profile form it will then be sent to your site’s administrative panel for review and approval. Once your profile has been approved by the site’s content management team, you will receive an email telling your profile has been published, and it will show up to the public in the artist directory and search result pages. You can come back at any time to add, edit, and remove information from your profile form by logging in and saving your changes with the button at the bottom of the form.
Video Tab – Adding Video Share Links
Once you have completed your profile, you can return to the top of the page to add videos to your artist profile. Select the “Video” tab.
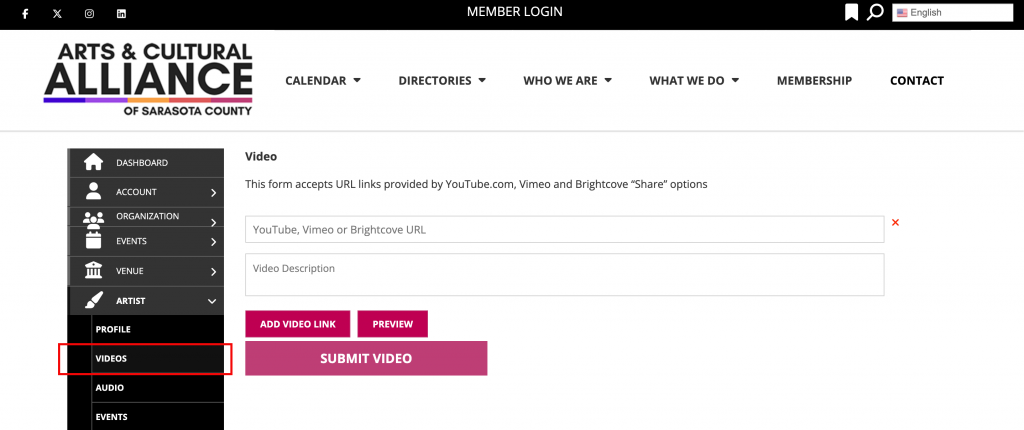
We accept the “share” links provided by YouTube, Vimeo or Brightcove. We do not accept any other video service links or embed code at this time. To add video to your profile, click on the Add Video Link button to display the video fields and simply copy and paste the share link. You also have the option to add a brief description for your video.
To find the “share” link provided by these services, we have provided examples below:
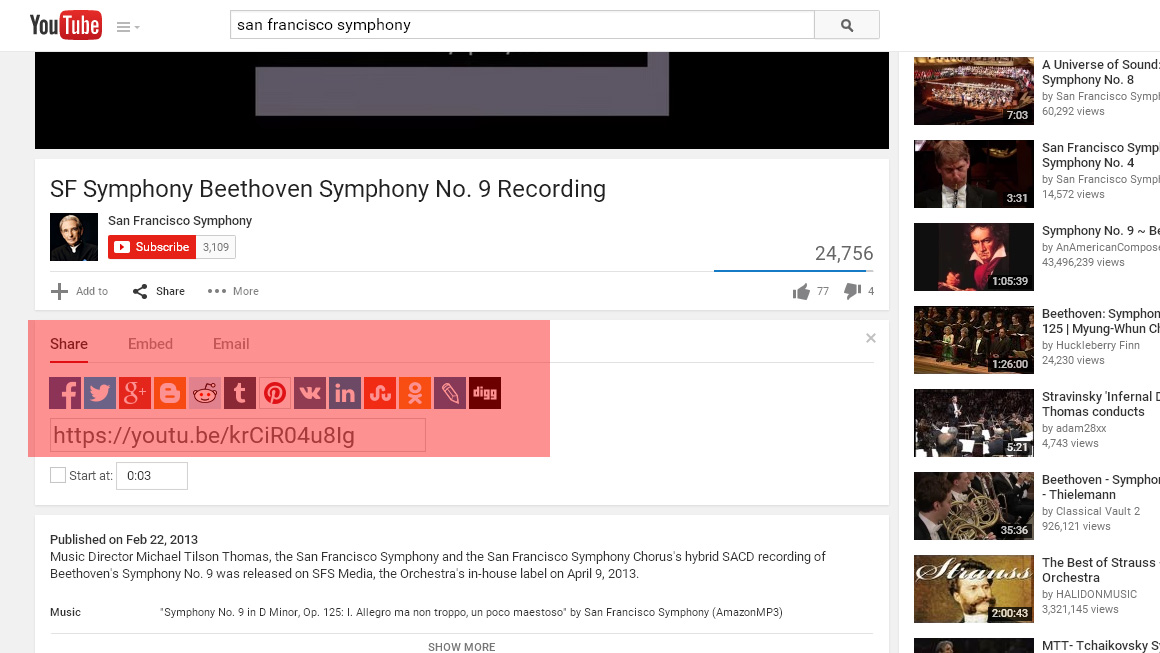
YouTube share link example:
Open the video you want to share, and make sure it’s a valid page and that the video actually plays.
Under the video, next to the like/dislike buttons, is an arrow and the word SHARE. Click that to open a new menu that gives you all the options you can use to share or embed the YouTube video.
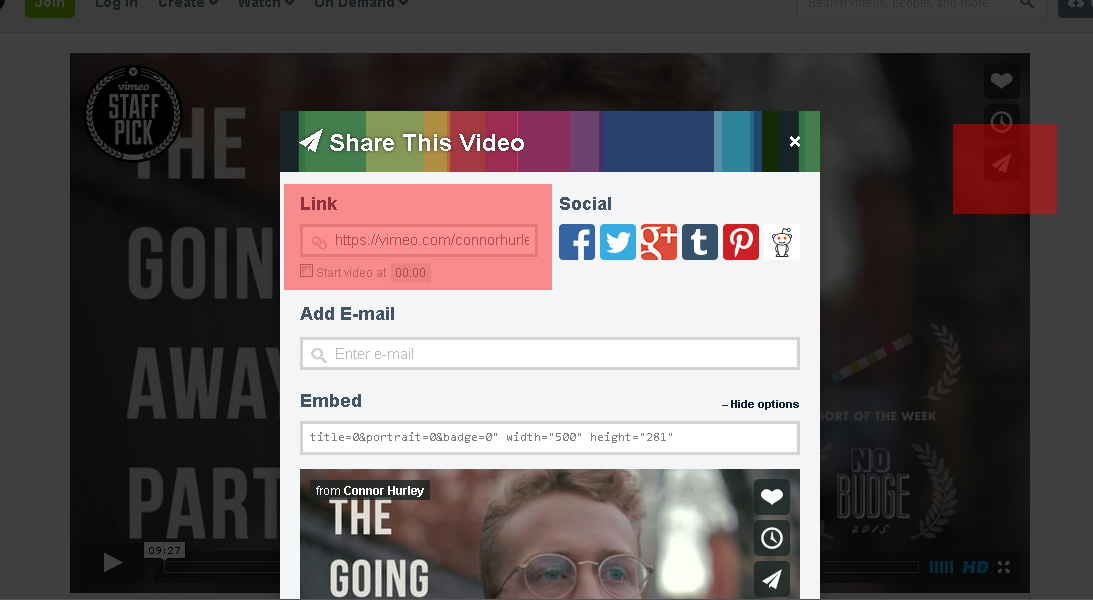
Vimeo share link example:
You can obtain the shareable Vimeo link for the video by copying and pasting the URL under the Link title.
Once you have added your video share links, click the Submit Video button to save these links to your artist profile.
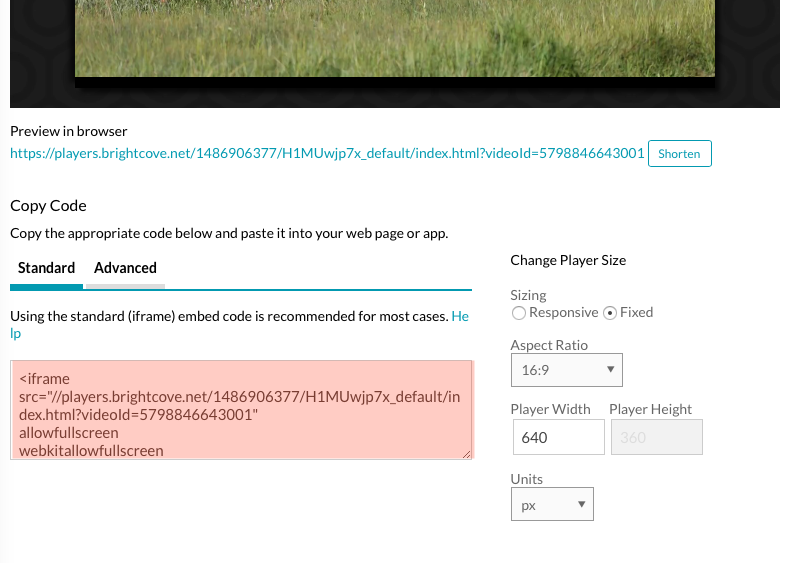
Brightcove share link example:
You can obtain the shareable Brightcove link for video by copying and pasting the copy code under the standard tab.
Audio Tab – Adding Audio Links & Code
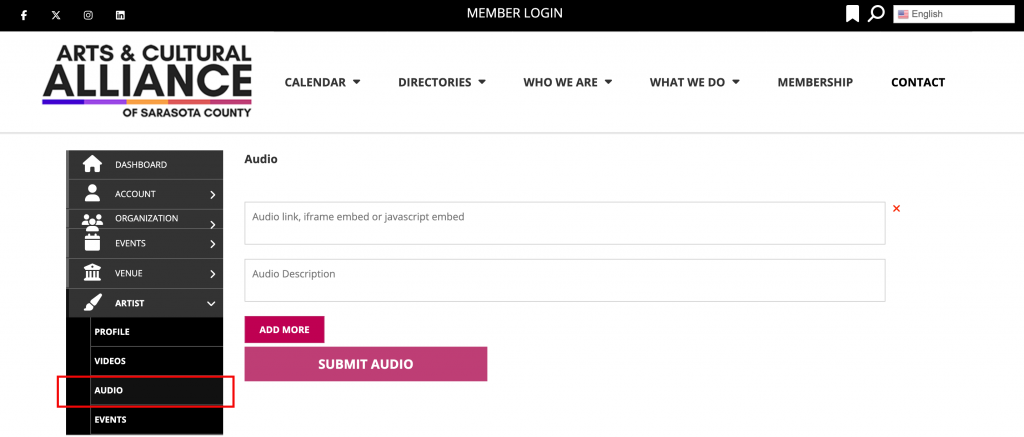
To add audio to your profile we accept audio “embed” code from various services, including Spotify, SoundCloud, Zing, CD Baby, and audio URLs with the “.mp3” file extension. See sample embed code below.
SPOTIFY sample:
<iframe style=”border-radius:12px” src=”https://open.spotify.com/embed/track/4gt9SktNkG822Oha9yGKt6?utm_source=generator” width=”100%” height=”380″ frameBorder=”0″ allowfullscreen=”” allow=”autoplay; clipboard-write; encrypted-media; fullscreen; picture-in-picture”></iframe>
SOUNDCLOUD sample:
<iframe width=100% height=166 scrolling=no frameborder=no src=https://w.soundcloud.com/player/?url=https%3A//api.soundcloud.com/tracks/119685767&color=ff5500></iframe>
ZING sample:
<iframe width=600 height=168 src=http://mp3.zing.vn/embed/song/ZW6ZFADU frameborder=0 allowfullscreen=true></iframe>
MP3 file extension sample:
“http://www.stephaniequinn.com/Music/Rondeau.mp3”
CD BABY sample:
<iframe title=”Store Widget” src=”http://www.cdbaby.com/widgets/store/store.aspx?id=CsfSGWXefhFmksmRlJNx9A%3d%3d&type=ByCustomer&c1=0x000000&c2=0xE0E0E0&c3=0xCCCCCC&c4=0x666666&c5=0x333333&c6=0xFFFFFF&c7=0xFFFFFF” width=”100%” height=”575px” frameborder=”0″ scrolling=”no”></iframe>
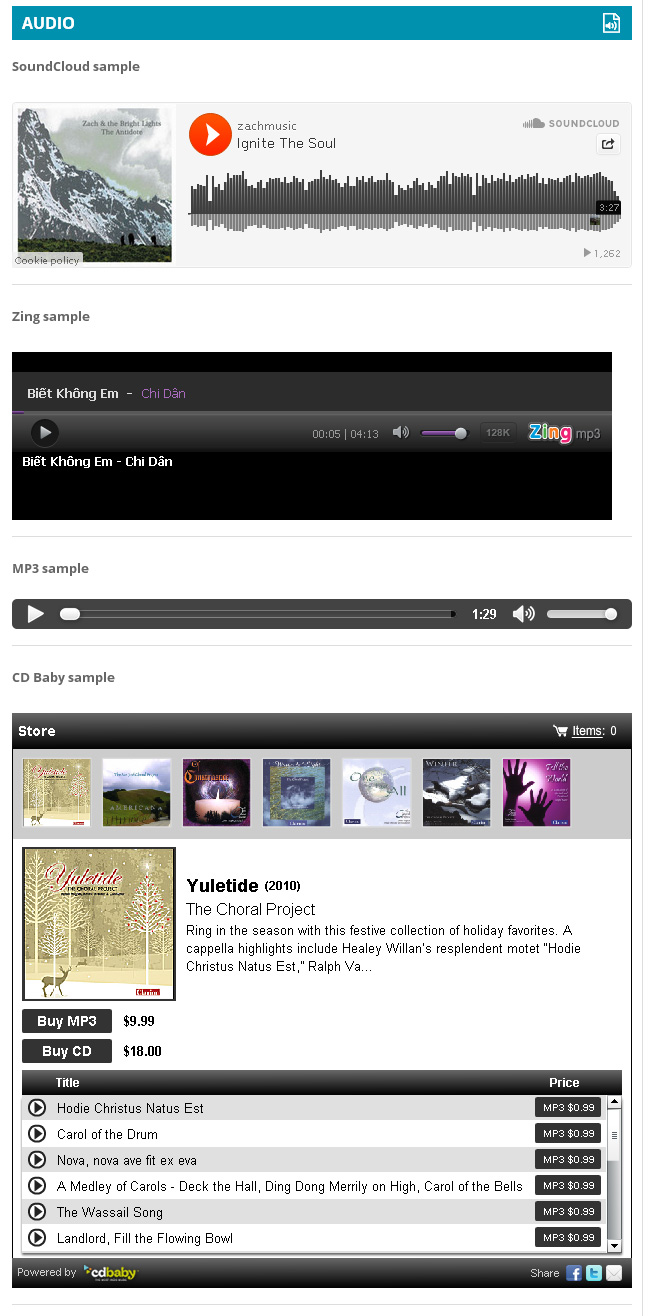
Once you’ve saved your audio embed code or links your profile’s audio section should appear something like one of the following four examples
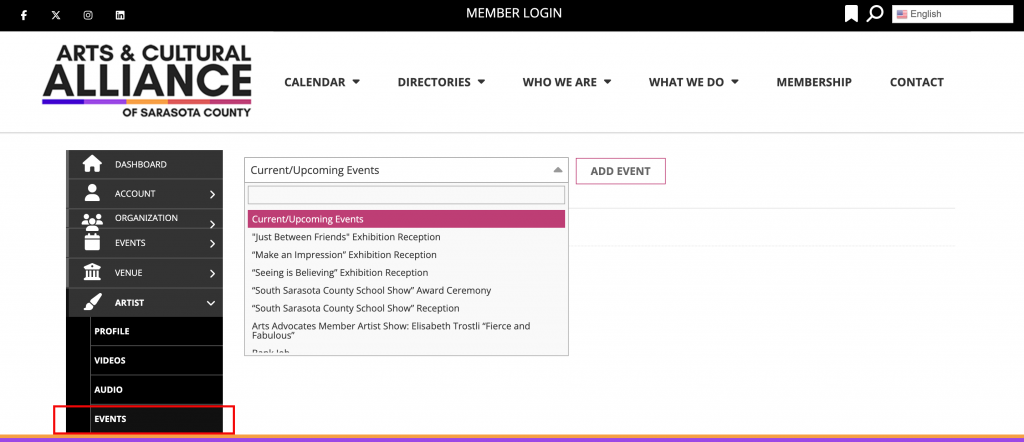
Associating your Artist Profile with a Calendar Event
As an artist, you can associate your profile with a calendar event you are involved with. This will mean that your profile shows up on the event page, and the event will show up at the bottom of your artist profile page.
Select the Events tab at the top of page, and either type the name of the event you are looking for in the search bar or scroll through the events until you find the one you are looking for in the dropdown menu.
Click ADD EVENT. That event will now show up in your Selected Events. You are now an ‘Associated Artist’ of that event.
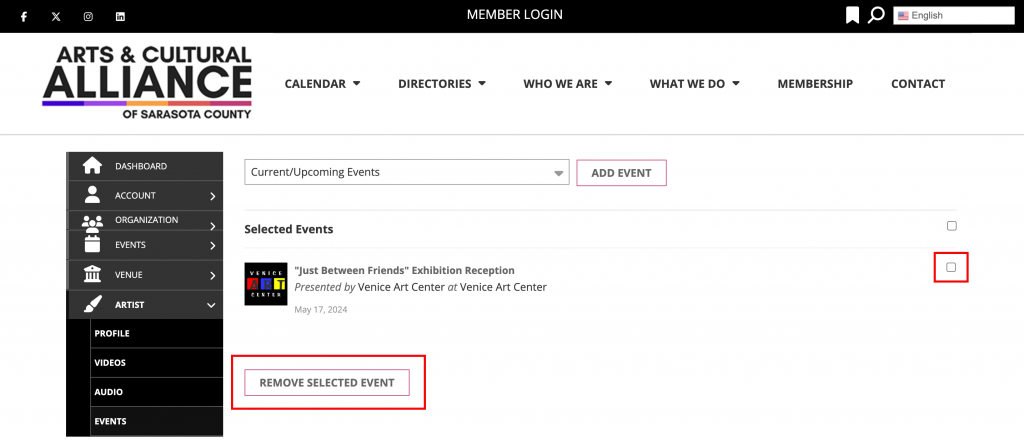
To remove a Selected Event, just check the box to the right of the event title, and click REMOVE SELECTED EVENT at the bottom of the page.
If you have any questions, please contact the website administrator or content manager listed on the site’s Contact page.